
Getting Inside
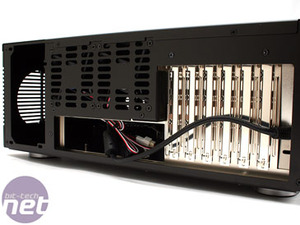
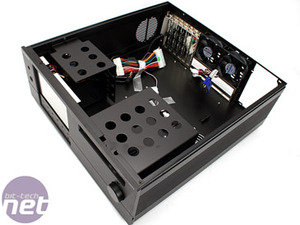
To get inside you need to unscrew no less than six Philips head screws – two on each of the sides. I understand that it keeps everything neat as the screws are countersunk, and aluminium tends to lose its screw threads very easily, but you learn quickly that you need to make sure everything is 100 percent a-OK inside before the top goes back on.The top features a grill that slides back to allow a little more fresh air, however if you're concerned about dust it can always be left closed. Once you’re inside, it yet again reminds you why Zalman make such awesome cases – instead of being faced with grey steel you have a consistent style (in our case, black) that you’ll again be very careful not to touch or scratch as the components are installed inside.
It’s almost a shame that there’s no window for a change – maybe Zalman should have integrated black Perspex that can only be seen into when it’s lit from behind? OK, lights are a no-no for the serious home theatre crowd, but still, it would be pimped to the max!
A thinner aluminium shell would be far cheaper and lighter, but it would be far too flimsy and not afford the same quality feel – this sits on show in a living room rather than picked up and transported to LANs. Most of us prefer the brushed aluminium if we had the choice between this and steel, however, it’s such an expensive choice – but maybe that’s part of the appeal and status if you can get it.
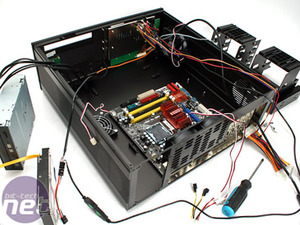
While the build quality is nothing short of exquisite up to this point, there are certain niggles inside that should have been easily spotted. For starters, the two nuts for the front screws holding the lid in are unsecured and just fell out once we removed the top for the first time. There was no way to reattach these and it just goes to reiterate the pointlessness of needing more than a half dozen screws to hold the lid on – now we’re just left with holes spoiling the clean lines.
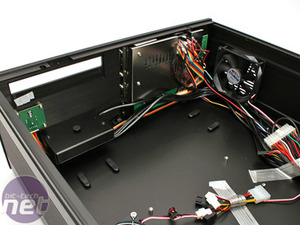
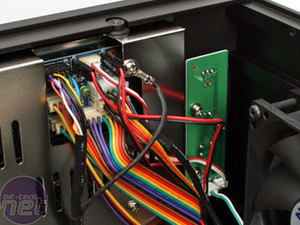
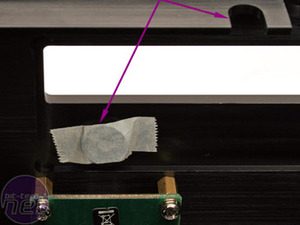
Secondly, the DVD button was held in with just a bit of masking tape – there was no “spring” to it like even Shuttle manages to achieve with relative ease on its XPCs. Finally there were cables everywhere! Yes, there are a lot of components neatly hid behind black covers, but just throwing in a couple of sticky grey cable ties feels like an afterthought.
It doesn’t match the case – all of the cables were too long and I don’t want to be sticking stuff down to the lovely anodised finish, thanks. The saving grace is that plugging everything in is relatively straight forward because the connectors are labelled.
It seems that, while Zalman has an awesome design team, those who are tasked to kit it out are a few sandwiches short of a picnic. Surely it’s not that hard to pre-route some cables to keep it neat? After installing a micro-ATX motherboard it easily became apparent that it requires some ninja skills and serious amount of time to get everything looking super neat – it will likely become some post apocalyptic mess with a full size ATX board, a load of PCI cards and several hard drives.

MSI MPG Velox 100R Chassis Review
October 14 2021 | 15:04



Want to comment? Please log in.