
Lian Li PC-XB01 Installation Guide
Before we start, credit must be given to the Lian Li PC-XB01’s instruction manual, which was enormously useful in the process of dismantling and then fitting our 360. The instructions were clear and easy to follow (although occasionally badly translated, but that just adds to the fun) and were accompanied by dozens of accurate photographs showing you exactly what you need to do. We're confident anyone that’s built their own PC will be able to perform the operation of fitting an Xbox 360 into the PC-XB01.You will need:
- Torx Screwdriver with 10, 8 and 6 fittings
- Phillips head screwdriver
- Flat head screwdriver
- Flat, edged implement (we used a paper scalpel, but a small Phillips head screw driver would be better)
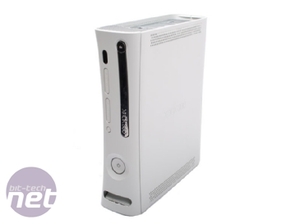
We start with an Xbox 360 – this particular model is Tim’s and is a 65nm HDMI version purchased last year – shame we’ll be chucking Tim’s warranty out of the window, but he isn’t going to find out until he gets back from Nvision, by which time we’ll have thought of a good enough excuse to justify
The first thing you need to do is pry off the 360’s exterior shell, starting with the hard drive and fascia. Once these have been popped off, you’ll need to release the top and bottom plastic grills, by pushing their clips out through the side grill holes using your small screw driver and pulling firmly. You’ll need to remove one of the rubber feet to do this.
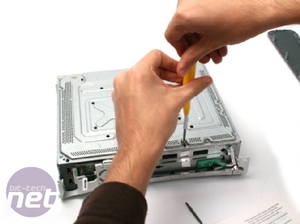
With the vent plates removed, lay your Xbox flat and locate the seven notches on its rear. Using your small screwdriver, push the catches on each notch in until you hear a clear “click” – that’s the retention clip releasing.
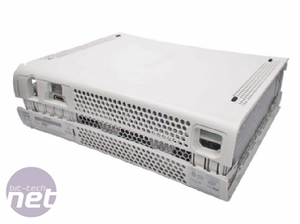
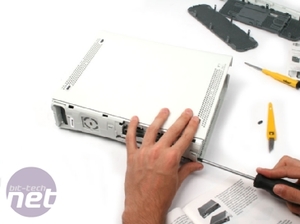
Click to enlarge: On the left you can see the seven rear clips released and on the right we grapple with the chunkier front clips
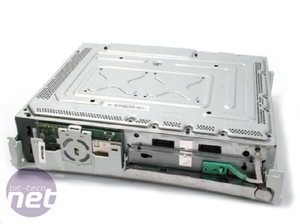
Once all seven clips are released, head to the front of the 360 and release the four significantly larger catches, again using your small flathead screw driver. With all the catches removed, your Xbox 360’s shell should pull free, revealing the metal cage inside.
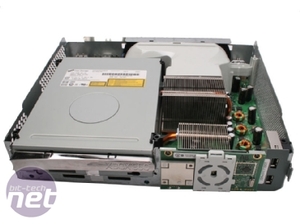
You’ll need your Torx screwdriver now – undo all the screws you can see – these are attaching the main board to the internal steel chassis. Once they’ve all been removed pry off the eject button from the front of the case, flip the console over and pop off the remaining plastic exterior panel to reveal the Xbox 360’s innards.
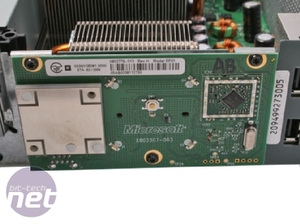
First you’ll need to remove the RF board (again using the Torx screw driver and appropriate head). This is the panel behind the familiar green/red ring, as well as being the receiver for your wireless controllers and once unscrewed slides out easily. This is also a good time to remove the eject button assembly, which is just a matter of releasing a simple clip and pulling firmly.

MSI MPG Velox 100R Chassis Review
October 14 2021 | 15:04



Want to comment? Please log in.