
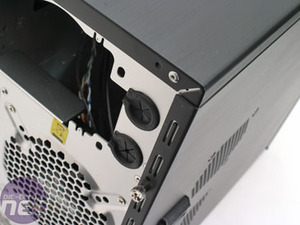
Power, reset and activity lights are on the top of the case. There are also two USB 2.0 ports, a Firewire port and two 3.5mm jacks for headphones and microphone. These are easily accessible, and it saves having to find ports on the back of the case in the dark. There are some problems with the positioning of these ports though, as we will show you when we've assembled a system into it.
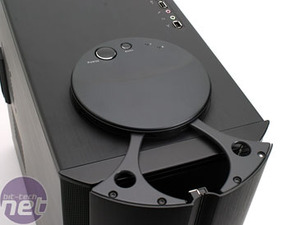
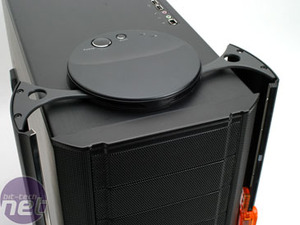 The buttons are soft to the touch and feel positive when you press them. They look to be high quality and will stand the test of time. The doors open by pulling them apart - to save getting finger prints on the front, Cooler Master has included a couple of holes on the top door support that connect to the gear mechanism under the circular cover housing the power buttons.
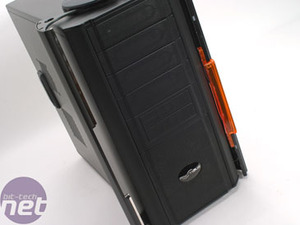
Sliding the doors open reveals the drive bay area - there are four 5.25" optical bays and a pair of visible 3.5" floppy drive bays. The front panel is a mesh design and all of the front panel is backed with foam designed to prevent too much dust from getting inside the case. It also helps to dampen noise coming from inside the case, too.
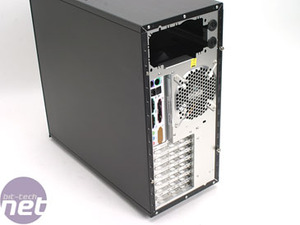
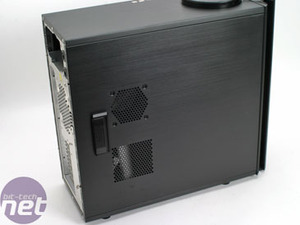 The back panel has a single 120mm fan housing that is also capable of handling 92mm and 80mm fans, should you want to use smaller fans than the 120mm ones that come with the case. The PCI blanking brackets are the push-in type, rather than the higher-quality screw-in design that have come with cases since day one.
There is also a standard PSU mounting area with the standard screw holes for attaching the case. Interestingly though, there are a couple of retaining holes next to where the PSU is mounted - these are designed for holding watercooling hose if you're using a pre-made system like Corsair's Nautilus 500, or maybe you're looking to mount your radiator externally? If so, the presence of these retaining holes mean that you don't need to drill holes in the back of your case to route your liquid cooling loop out the back of the chassis.


Sliding the doors open reveals the drive bay area - there are four 5.25" optical bays and a pair of visible 3.5" floppy drive bays. The front panel is a mesh design and all of the front panel is backed with foam designed to prevent too much dust from getting inside the case. It also helps to dampen noise coming from inside the case, too.


There is also a standard PSU mounting area with the standard screw holes for attaching the case. Interestingly though, there are a couple of retaining holes next to where the PSU is mounted - these are designed for holding watercooling hose if you're using a pre-made system like Corsair's Nautilus 500, or maybe you're looking to mount your radiator externally? If so, the presence of these retaining holes mean that you don't need to drill holes in the back of your case to route your liquid cooling loop out the back of the chassis.

MSI MPG Velox 100R Chassis Review
October 14 2021 | 15:04


Want to comment? Please log in.