
Interior
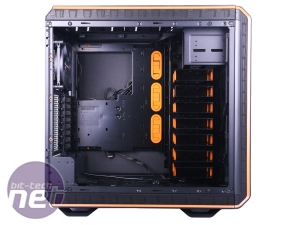
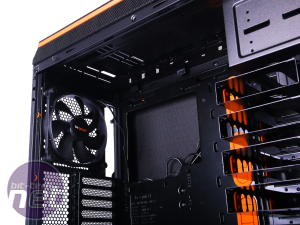
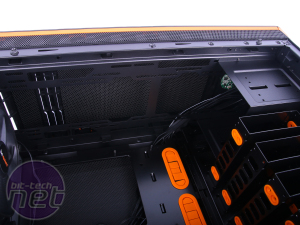
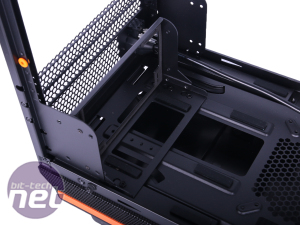
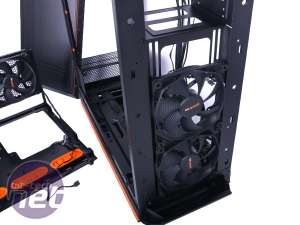
Even so, given the Pro 900's monstrous water-cooling potential, only having side vents in the front and roof will definitely reduce the performance of radiators installed in these locations. There's room for quite a few as well - the front and roof can house a quad 120mm (480mm) radiator or double 140mm (280mm) model, and with the hard disk mounts being removable and the motherboard able to drop down, there's space for full-height models in both locations.Click to enlarge
There are two further 120mm fan mounts in the rear side panel as well hidden behind an air vent cover, and as usual there's a 140mm/120mm mount in the rear of the case plus room for up to a 280mm radiator in the case as well, again assuming you're willing to ditch some of the drive bays.
Click to enlarge
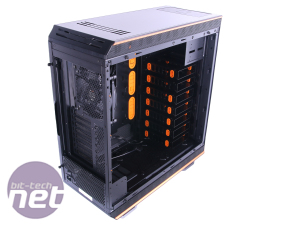
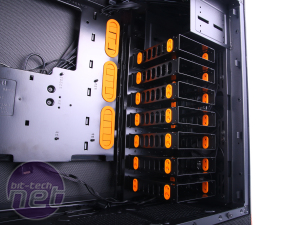
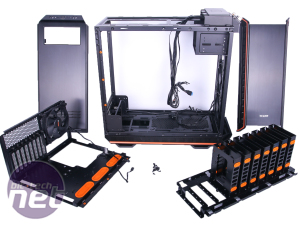
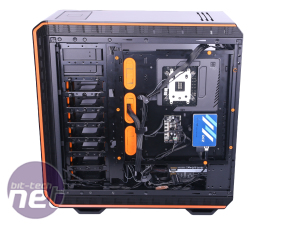
The drive bays themselves secure into place using thumb screws, with screws required for these and the SSDs, plus the single dedicated SSD mount that sits behind the motherboard tray. This brings us on to our first criticism of the 900 Pro - the lack of tool-free drive mounts. If you've got a couple of SSDs and hard disks to install, you'll be dealing with fiddly screws for ten minutes instead of spending all of 30 seconds clipping drives into place. Given how easy the likes of Corsair's tool-free SSD mounts are to use, we consider any case that requires you to screw an SSD into place as adding time to the install process needlessly.
Click to enlarge
The drive bays and much of the interior are clad in thick black paint, but while the build quality overall is solid, our second criticism is that some parts feel a little clunky. The inclusion of plastic and steel in a case that also touts tempered glass and aluminium is a bit odd too - its 14kg weight betrays the fact it's not all aluminium here and we'd have liked a little more consistency with the materials. The exterior looks every bit like a £200 case, but the interior falls short in a few areas.
Click to enlarge
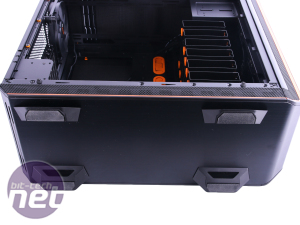
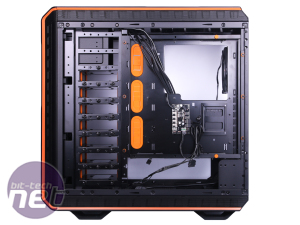
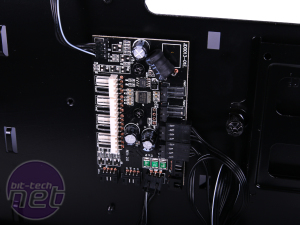
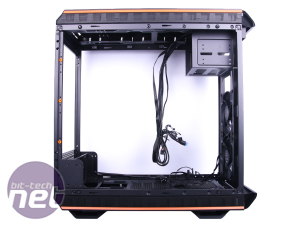
Cable tidying is generally good and Be Quiet! includes a number of large Velcro cable ties too, although these are only really useful for gathering bunches of cables together rather than anchoring them neatly in place. There's also an issue with cables in front of the PSU - there are very few ways to hide them here and unfortunately the PSU mount is offset to the closest side of the case too, meaning they have to stretch all the way across the base of the chassis, leaving an unsightly mess. A PSU cover is definitely required here.
Click to enlarge
To go about actually swapping things around, there are essentially two main components - the motherboard tray and the hard disk mount. The latter is always needed to support the motherboard, but the drive mounts themselves can all be removed. The hard disk mount simply swaps sides when you switch the motherboard. The genius here is that the rear section that houses the I/O panel and PCI slots simply flips over when you move the motherboard tray to the opposite side of the case.
Click to enlarge
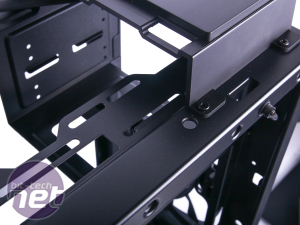
This entire section is just one modular unit, and while it was certainly time consuming and a bit fiddly to deal with from a testing point of view compared to what we're used to, as an end-user, it represents a weekend of tweaking and having fun building your system and trying out different layouts. The motherboard tray is simply screwed in place using anti-vibration washers for good measure, and there are several different mounting points to raise or lower the entire section too. To cater for this, there are blanking plates at the rear.
Click to enlarge
If that's all as clear as mud, then the video below hopefully makes it a little clearer.

MSI MPG Velox 100R Chassis Review
October 14 2021 | 15:04



Want to comment? Please log in.