Testing, Testing?
Whenever we review a case, we always test it in a number of different ways. There are three things we look for primarily, categories we consider important enough to focus on and use as a guide when reviewing a system.The first of those categories is simply how easy a case is to work with. If a chassis is cramped and awkwardly shaped, littered with sharp edges and lacking in cable management solutions, then we don’t really want to use it.
On the other hand, time savers and well thought-out additions to the standard case design, like removable motherboard trays or chambered drive cages, earn our approval and praise.
The second way we test a system is by gauging the noise produced by the PC. It’s impossible for a case to get too quiet, really, but very easy for it to get overly noisy and we’d loath having to turn up the volume of our favourite Britney tracks in order to make them out over the din of whirring fans.
Lastly, we stress the system using a selection of CPU and graphical tests in order to maximise the heat produced by the system. We then monitor the temperature of the case interior and the CPU and GPU temperature, hoping they don’t get too hot.
Since the X-Telstar Junior also comes with its own temperature probe and display we’ll be using that too. Specifically, we’ll monitor the temperature at the back of the case with our own probe and the front with the Apevia probe.
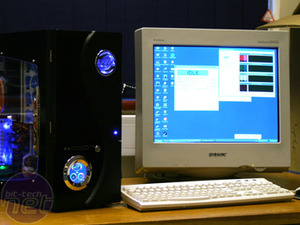
To make sure our testing process is consistent in every regard, we use the same system each and every time we review an ATX case. Check out the specs below…
CPU: Intel Pentium XE 955 (dual-core, 3.46GHz)
Graphics Card: Sapphire Radeon X1600 XT Ultimate
Motherboard: MSI P6N SLI Platinum
RAM: 2x 512MB Corsair XMS2-667
Hard Drive: 1x 250GB Western Digital WD2500 7200RPM
Heatsink: Asus Silent Square Pro
Bear in mind that this system isn’t exactly supposed to be the cutting edge type of thing you’d see in one of Tim’s awesome graphics articles though. Instead, it’s supposed to be both representative of most home PCs and taxing on the case in the areas we want to stress it.
So, how did we get on?
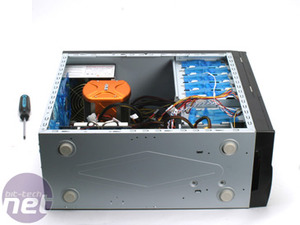
Well, the system installation itself was an incredibly simple and straight forward affair. There isn’t an awful lot of room in the case and we thankfully weren’t using a massive GPU to complicate matters, but there was just enough for our system.
The PSU and mobo went in without a problem and, although the bent cover on the GPU did cause a bit of trouble, we were able to wedge it in securely by liberally applying innovation, brilliance and brute force.
The main problem was that there was no room to manage the cables in and we only survived thanks to a massive collection of cable ties and tidies. Stray cables were bundled together and clustered in empty drive cages, which was also where we placed the Apevia temperature probe as we suspected that a hotspot may form there.
Were we right? Flip the page and check our heat and noise testing results.

MSI MPG Velox 100R Chassis Review
October 14 2021 | 15:04


Want to comment? Please log in.