Shuttle Cutting I
Now, the lads at Shuttle heard I needed a motherboard from an SN95G5 - so, not doing things by halves, they sent me the entire barebones system! The SN95G5 is a Socket 939 system and comes in a sleek, black-anodised aluminium case. Beautiful brushed finish and texture. Pity, I was going to have to hack it up.

A swanky new SN95G5. Um...where's the motherboard?....


A-ha! One motherboard freed from its aluminium prison. I then proceeded to rip out the PSU, wires, wireless, backplate, front, USB sockets... (you get the idea). Only a skeleton remained. I figured it was less hassle (and loads more fun) to use part of the Shuttle case to mount the motherboard to, rather than having to measure and drill more holes, make standoffs, make a backplate and so on. I planned to just cut it up and fix what remained to my motherboard tray.


I worked out where I was going to cut, drew lines....


...drew more lines and began cutting with the hacksaw.


Drilled out a few rivets and the case came apart. The backplate got the Dremel treatment....


...then the sandpaper treatment. I also peeled the rubber feet off - these were only gummed on with double-sided tape.
The front and sides of the motherboard tray were turned up to stop the tray flexing under load, but I also wanted to brace the rear of the tray.


I measured and cut a length of 1/2" aluminium square-section.


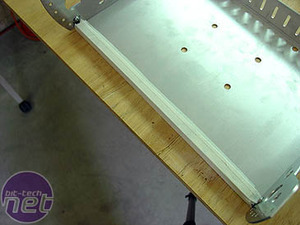
The ends were cut to 45-degrees in a mitre box and cleaned up with needle-files and sandpaper. You can see how the brace fits across the rear of the tray, with the bevelled ends giving clearance to a pair of screws that attach the back-cover brackets.


The brace (still covered in masking tape), was marked up and holes drilled and countersunk in the tray, and drilled and tapped in the brace. Small, M3 countersunk socket screws hold it on. They needed to be countersunk, so they wouldn't catch on the opening when the tray was slid out.


I had to drill some holes in the tray to affix the remnants of the Shuttle case. The back cover was also marked, drilled, and fixed to its brackets with the same clips that hold the tray brackets down.


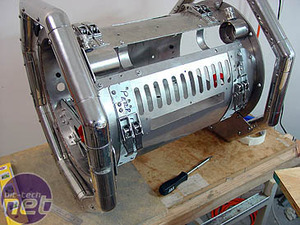
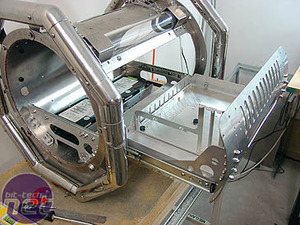
Look Ma! It works!

MSI MPG Velox 100R Chassis Review
October 14 2021 | 15:04


Want to comment? Please log in.