
Assembling the internals
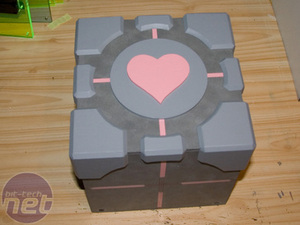
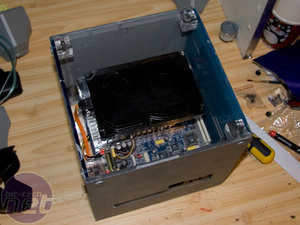
As you can see, the outside of the cube was pretty much complete, so it was time to get working on the insides. Since the cube is very small, I had to make the best of it – so a two layer setup was the way to go.
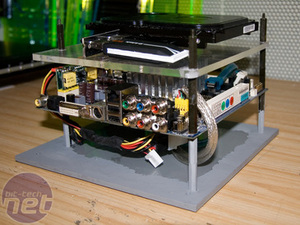
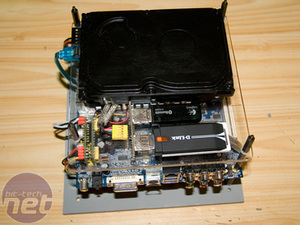
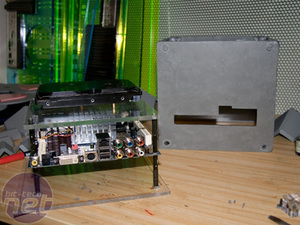
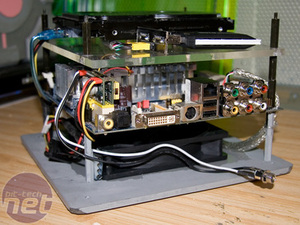
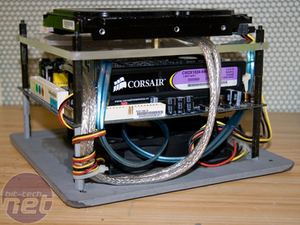
First I drilled holes in the bottom plate and screwed in a set of motherboard spacers from an old acrylic case. These are a lot longer than the normal ones, but they were still not the length I needed – so I ended up screwing two of them together to reach the proper height. After that, I took eight more spacers and made a second platform above the motherboard for the hard drive and internal USB dongles for the keyboard and WLAN.
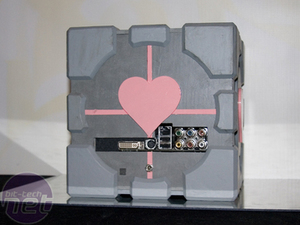
I also cut the hole in the back so that the connectors could be accessed. Then, I drilled holes for a small power button and the power connector for the PicoPSU.
It took some finessing to get it all in there and connected properly, but in the end everything slid in to place and the hardware was ready to fire up. But wait – "fire" might be an optimal word, because I hadn't put in any ventilation!
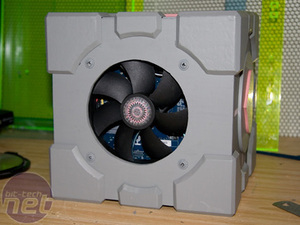
So, I cut a hole in the bottom of the case and attached a 120mm fan to add some fresh air. The components really don’t give off much heat but I still felt that some cooling was in order just to err on the side of caution. I also connected the very simple power switch and the connector for the main power.

MSI MPG Velox 100R Chassis Review
October 14 2021 | 15:04



Want to comment? Please log in.