

SLEEVING: REAR FANS
I\'m going start where I left off in Part One. I was talking about the rear fans and how they would be fixed and sleeved through the back plate. This is the end result:
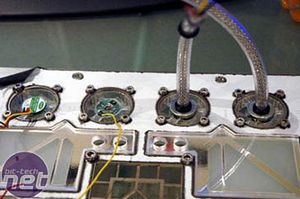
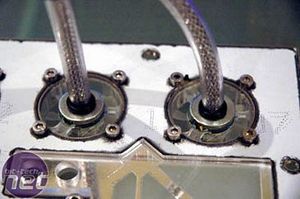
I had to sleeve all four fans, which took me a long time. I found it easiest when I left the fans on the backplate, however, there were unexpected consequences - two of the wires came off :(
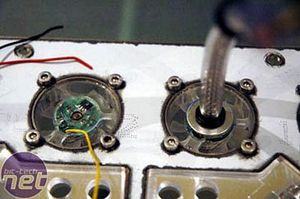
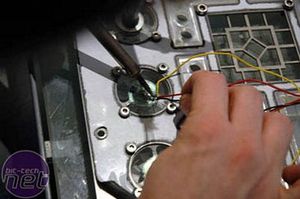
The challenge was then for me to solder them back on. I had never used a soldering iron before, so it was a little daunting, but after a few F words and some burnt fingers, the wires were re-attached and to my relief, the fan still worked!
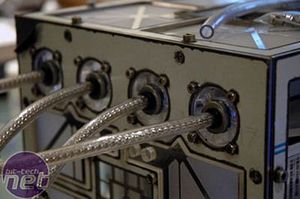
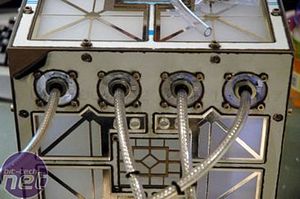
The result looked like this: the first part of the sleeving was done.
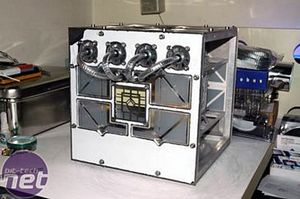
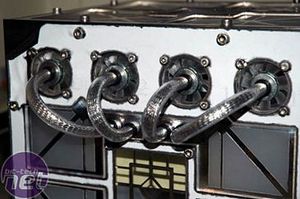
The cables had to go through the backplate and then every cable will get a 3.5mm jack at the end. These will be put in the core from where the fans will get their power.
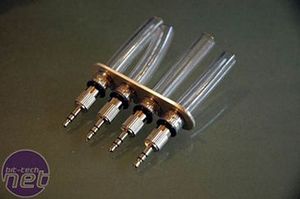
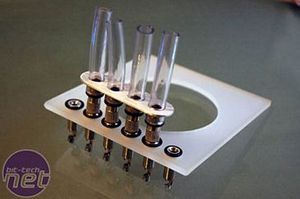
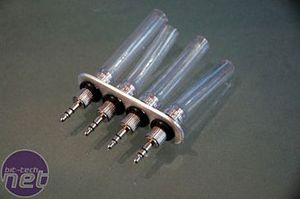

Remember this little solution to hold the four jacks together? Well, I found a better way of keeping them firmly together (above)
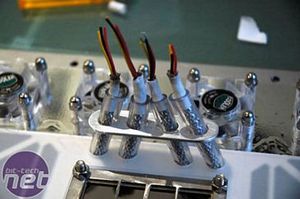
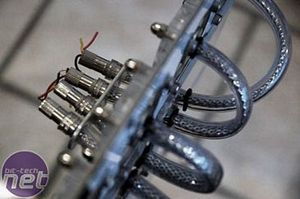
And here is the way I sleeved them
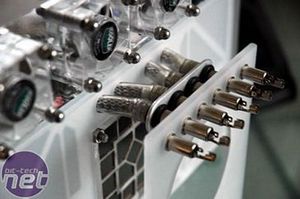
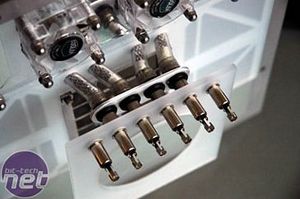
Here is the final result, with the back plate of the core attached.

MSI MPG Velox 100R Chassis Review
October 14 2021 | 15:04


Want to comment? Please log in.