

PLEXI BASE PLATES
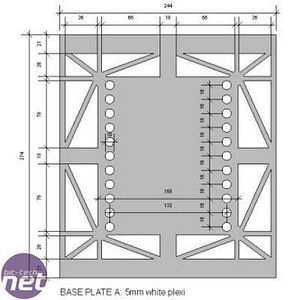
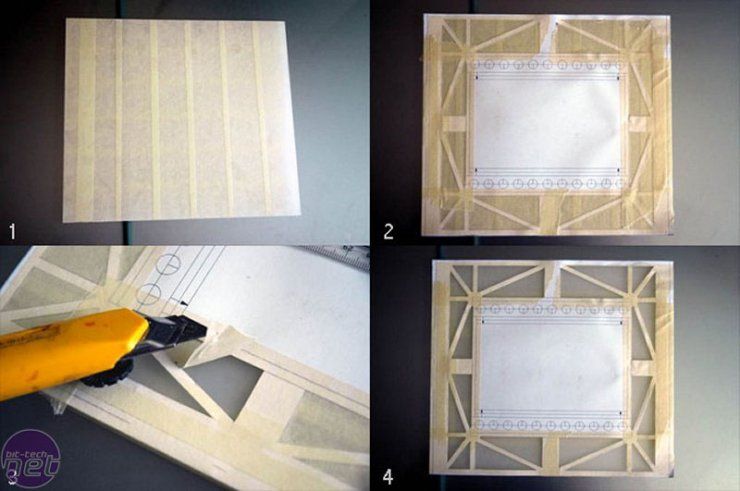
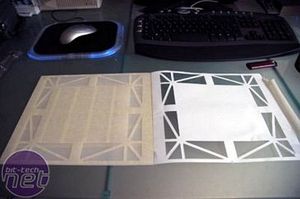
Here you can see the different stages of getting the shapes on to the plexi.
<ol><li>First mask off the plexi with some masking tape, on both sides to prevent scratches. </li><li>Then tape a printout on to the plexi - it\'s already cutout because I used the same print for the previous panel. </li><li>Then trace over the print with a cutter and take the tape off </li><li>Here is the finished panel with all the shapes cut out. </li></ol>
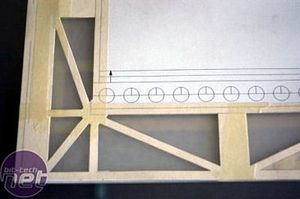
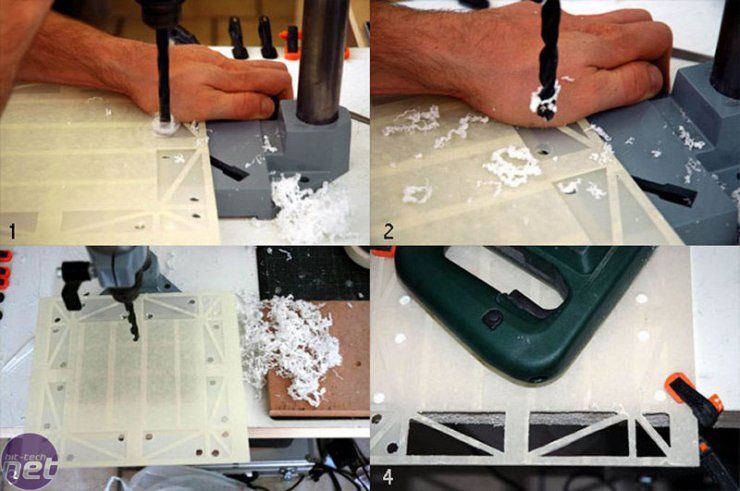
<ol><li>I\'m making in every triangle a 10mm drillhole. I\'m using a metal drillbit (10mm) and drill it very, very slowly </li><li>A very clean cut </li><li>all the necessary holes drilled out of the panel, now the jigsaw comes on the workfloor. </li><li>Very rough edges </li></ol>
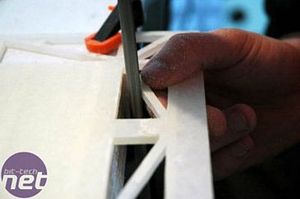
After I cut all the triangles, I filed all the edges straight - I found my girlfriend\'s nailfile very useful for the tiny details.
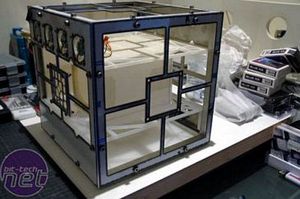
After test-fitting the baseplates, I noticed the bottom one was bending down a little already.
When the PC will be fully installed, I\'m guessing the bottom plate has to hold a weight of 9kg / 20 pounds. The plexi alone clearly wasn\'t going to manage this, so I had to devise a solution
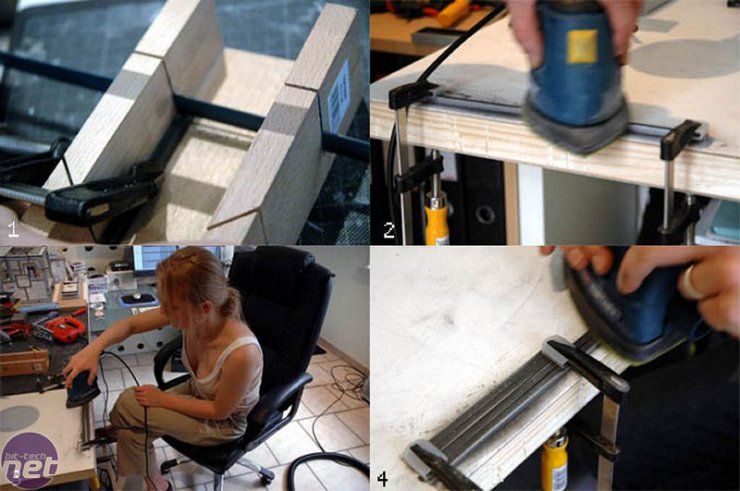
In the end, the solution was very simple and clean : metal rods 5 x 5 mm to create a support frame.
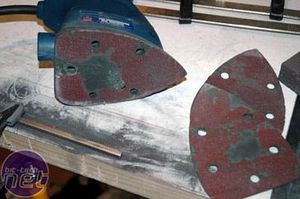
<ol><li>Measuring the profile and cutting it in the correct lengths </li><li>Sanding down the profile to remove the black coat </li><li>Still sanding - special tnx to my girlfriend who spend hours on that chair... </li><li>Even with all the bars next to each other, it wasn\'t much faster. </li></ol>We ended up sanding the whole afternoon.
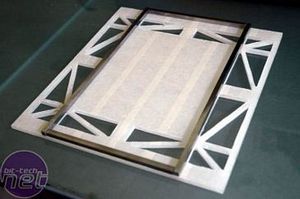
The bars are to be fixed in two directions right underneath the core of the cube, so they can take the full weight. At first I glued them to the plexi, but this was not sufficient - I had to screw them on to the plexi:
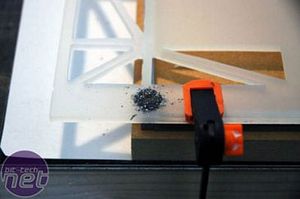
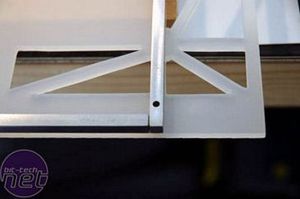
With a 2 mm drillbit, I made 8 holes in the plexi and metal bars.
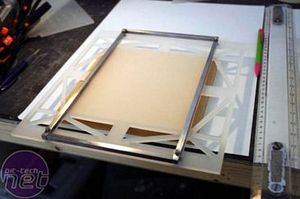
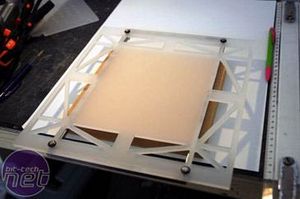
In the picture you only see 4 bolts, but also the shorter bars are bolted to the plexi at the moment just to make sure.
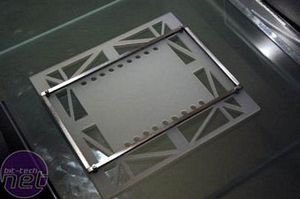
The holes for ventilating the HD racks are drilled.
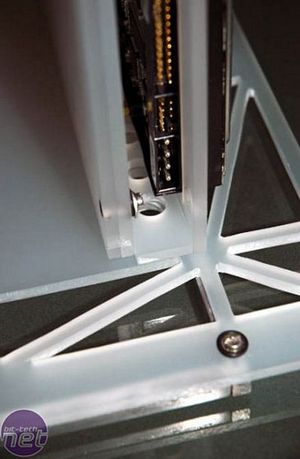
A close-up of how the holes of the base plate and the HD rack are aligned, allowing the air to circulate out of the HD bracket.

MSI MPG Velox 100R Chassis Review
October 14 2021 | 15:04


Want to comment? Please log in.