I needed to create a front bezel for the case. I decided to do something similar to the vesperdeco and use two layers of acrylic, solid black and clear. The solid black would be to complete the overall "black and tan" theme and the inner layer of clear would create a "halo" lighting effect.
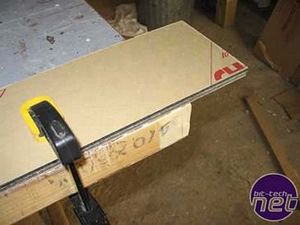
I ripped two similar pieces of each type of acrylic using the table saw and clamped them down together. Clamping them together and cutting them both at the same time with the jigsaw would insure they were exactly the same.
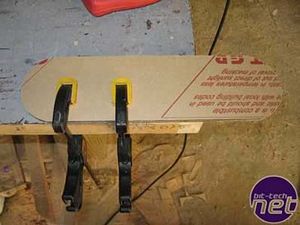
After cutting both ends the are perfectly matched.
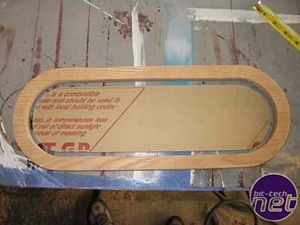
I set the dimensions for the front bezel to fit inside the outer oak trim because I wanted it to appear to be floating. This is also functional, the gap around the front bezel is the avenue for all the incoming air for the case. This creates an even airflow through the entire case in from the front out the back via the PSU.
<b>More Adventures in Fabricating Acrylic</b>
I needed to make my own version of L-channel out of acrylic for attaching the drivebay/front bezel to the motherboard tray. Now was time to use my new toy, the strip heater, since I needed a nice straight line bent at a sharp angle.
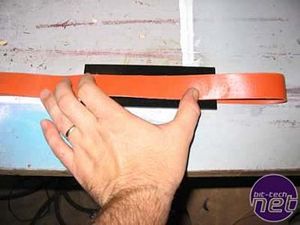
I ran the strip under the acrylic and looped it back on the other side to create a strip sandwich (and no, that's not something you order at a bar near the airport).
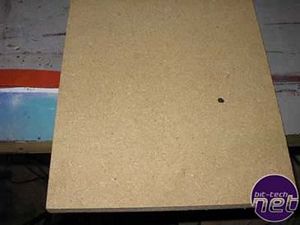
Then I placed a piece of scrap particle board on top to keep the heat close to the acrylic and everything in place. If you decide to use this process, don't leave this thing unattended.
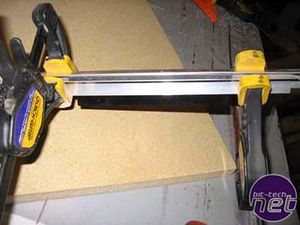
Once I had the acrylic at the right temperature, (with gloves on, I picked up the acrylic and it would bend with pressure) I placed it between two pieces of aluminum L-channel to create a small form and pressed it together with, you guessed it, quick clamps.
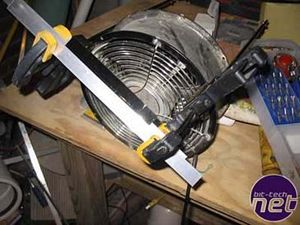
It just so happened that the two clamps at this distance apart would rest right on top of my fan to help cool the whole thing down.
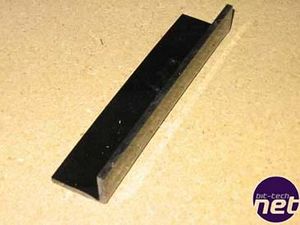
When enough time had passed and it was cool (and give it plenty of time, if you remove it too soon, it will warp as it cools) I removed it to reveal a perfectly formed piece of acrylic L-channel. I then cut it into sections and drilled holes in each panel to act as angle brackets to fasten the drive assembly/front bezel to the motherboard with nuts and bolts.

I ripped two similar pieces of each type of acrylic using the table saw and clamped them down together. Clamping them together and cutting them both at the same time with the jigsaw would insure they were exactly the same.

After cutting both ends the are perfectly matched.

I set the dimensions for the front bezel to fit inside the outer oak trim because I wanted it to appear to be floating. This is also functional, the gap around the front bezel is the avenue for all the incoming air for the case. This creates an even airflow through the entire case in from the front out the back via the PSU.
<b>More Adventures in Fabricating Acrylic</b>
I needed to make my own version of L-channel out of acrylic for attaching the drivebay/front bezel to the motherboard tray. Now was time to use my new toy, the strip heater, since I needed a nice straight line bent at a sharp angle.

I ran the strip under the acrylic and looped it back on the other side to create a strip sandwich (and no, that's not something you order at a bar near the airport).

Then I placed a piece of scrap particle board on top to keep the heat close to the acrylic and everything in place. If you decide to use this process, don't leave this thing unattended.

Once I had the acrylic at the right temperature, (with gloves on, I picked up the acrylic and it would bend with pressure) I placed it between two pieces of aluminum L-channel to create a small form and pressed it together with, you guessed it, quick clamps.

It just so happened that the two clamps at this distance apart would rest right on top of my fan to help cool the whole thing down.

When enough time had passed and it was cool (and give it plenty of time, if you remove it too soon, it will warp as it cools) I removed it to reveal a perfectly formed piece of acrylic L-channel. I then cut it into sections and drilled holes in each panel to act as angle brackets to fasten the drive assembly/front bezel to the motherboard with nuts and bolts.

MSI MPG Velox 100R Chassis Review
October 14 2021 | 15:04


Want to comment? Please log in.