Joints
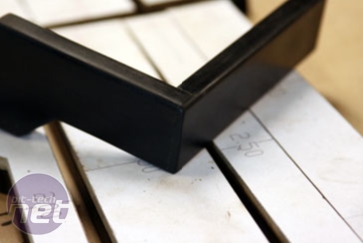
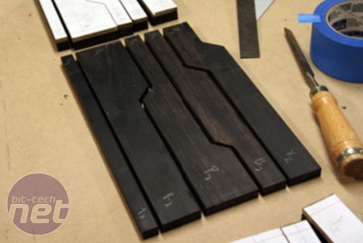
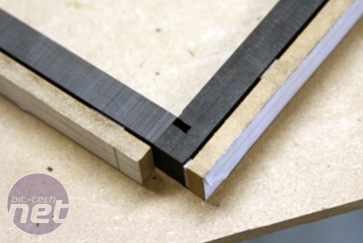
I considered a few different joints for the case. I could have done a fancy dovetail or something but this could have detracted from the form of the piece. I also considered mitering all the corners and putting a spline but this again would have been too complex and would be prone to errors.Eventually I decided on a simple rabbet joint which would be easy to do and not detract from the simplicity of the design. Here is a test piece that I made (with a piece I screwed up on) and the pieces ready to be cut:
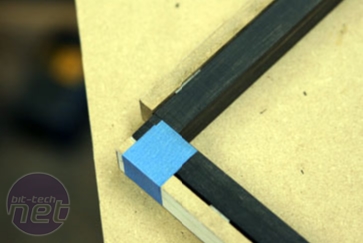
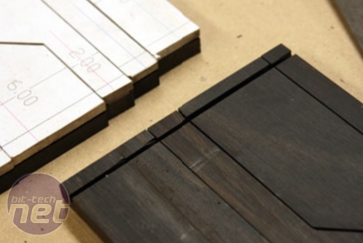
The joint itself is very simple. Basically, one of the pieces gets a chunk cut out to receive the next piece. This shows what the goal is along with a piece ready for the first cut. I left the templates on everything to help keep all of the pieces straight (there were a lot of them).
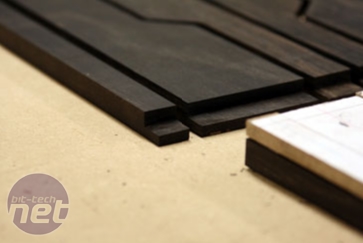
Here we are after the first cut. I cut all of the pieces before moving on to the next step:
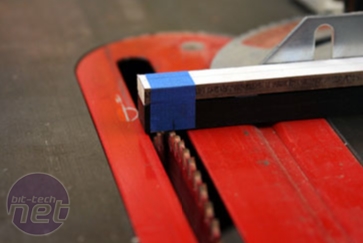
Then I used the tenoning jig (which holds the pieces perpendicular to the table) to make the other cut. After a little chisel work to fine tune the joints, they fit perfectly.
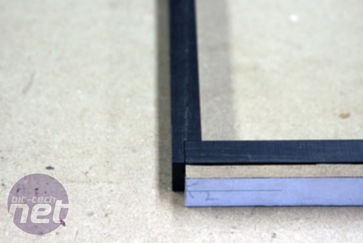
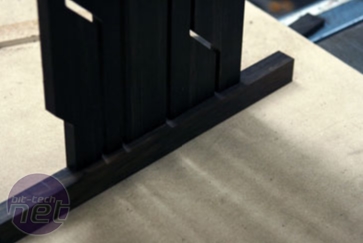
Once all of the joints were done, I needed to make a piece that would keep the 0.5cm spacing even at the bottom. For this, I used another piece of ebony and then I cut the material away to accept each vertical piece. This was a laborious but extremely important process.
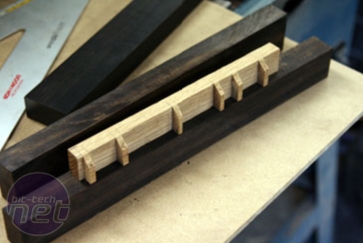
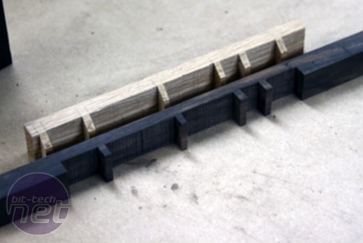
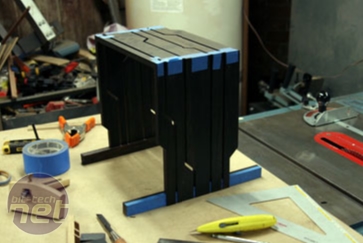
It was important enough that I made a test piece out of oak to make sure it not only looked good but would function properly. Here is the mock up along with the final piece out of ebony. Here, also, is everything mocked up (with tape) awaiting the thicker frame pieces.

MSI MPG Velox 100R Chassis Review
October 14 2021 | 15:04




Want to comment? Please log in.