Lots of Holes
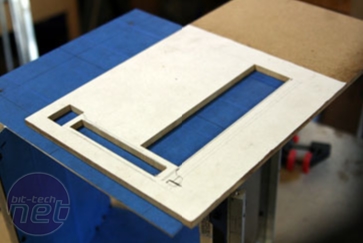
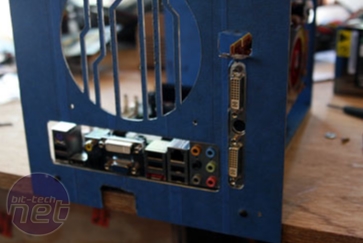
Since I did not want a lot of excess “holes” on the exterior of the case, I decided to have the I/O shield portion of the motherboard face down in the cube portion of the case.This would also clean up the wiring of the case since the cables could be routed up and around the back of the motherboard. I also needed to cut a slot for the video card.
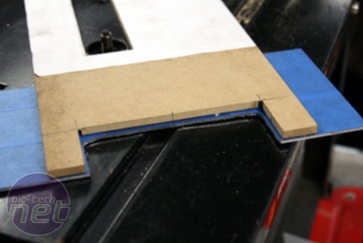
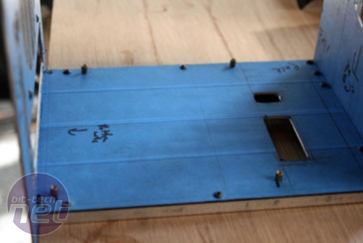
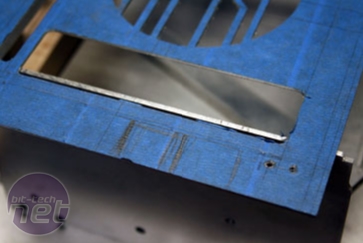
To accomplish this, I made yet another AutoCAD drawing and another template and used the router table with a flush-trim bit to make a precise hole in the “floor” of the cube.
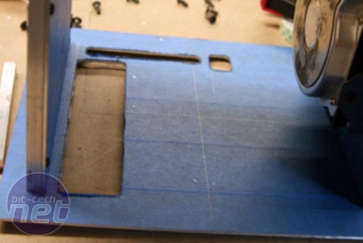
I also needed to cut out a chunk for the DVD drive stealthing in the bottom portion of the case along with some of the many holes for the wiring. These particular holes are for the cables that connect to the motherboard:
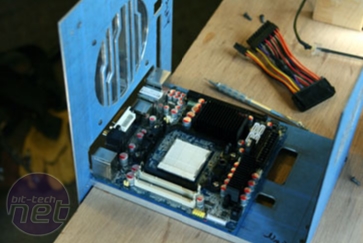
Once this was done, it was time to mount the motherboard. Luckily there were only four holes, making the process a bit easier than normal.
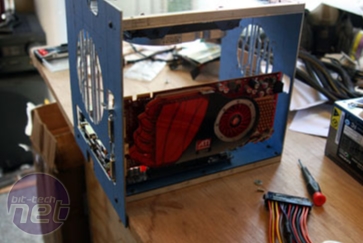
The holes for the video card are especially crucial (I’ve screwed up on these a few times) but on this case they turned out great. There is even a hole at the top of the case for the extra power cable needed by most video cards today, including this one, the Radeon HD 4850.
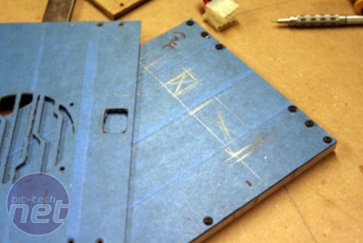
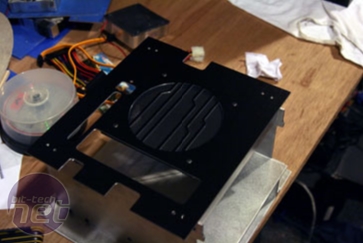
I had to make a good many more holes for wiring and such. Most of these were made in the floor of the cube. Here they are laid out, waiting to be cut, again using templates. Eventually I started to get to the point where the case was almost completed and it was finally time to start taking off all that blue tape. The first glimpse of this is shown below.

MSI MPG Velox 100R Chassis Review
October 14 2021 | 15:04




Want to comment? Please log in.