Hard Drive Mounting
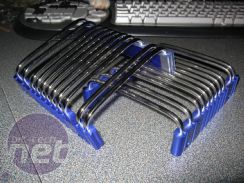
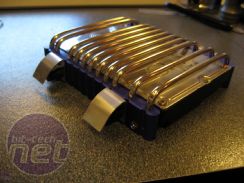
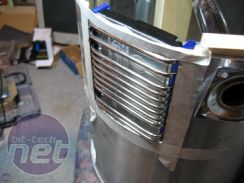
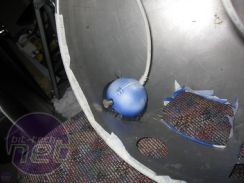
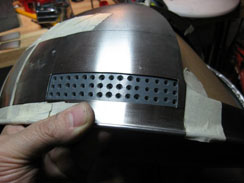
I received a pair of Zalman hard drive coolers from Space Promotion and at first I wanted to mount them on the bottom of the case but, with further thought about how everything would go into the case, I decided to mount them much higher up instead. After fashioning several curved mounts and cutting another hole into the side of the can, the drive was mounted.
Webcam Eye
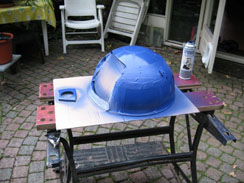
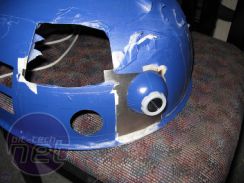
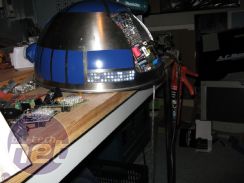
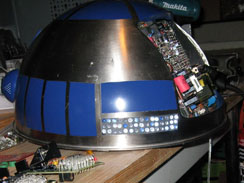
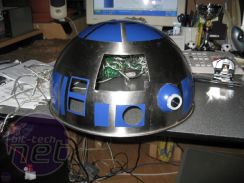
I masked up and spray painted the dome head of the R2, then also found an old webcam and gave that a coat of the same paint as well. That was then mounted into a hole I had made into the front and glued into position.
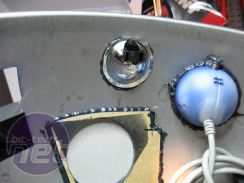
I glued in the radar eye and an old reflector I had lying around, and I also peeled of the masking tape to reveal the blue squares.
Lights and UV
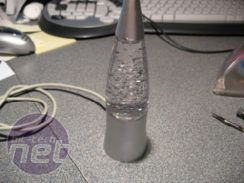
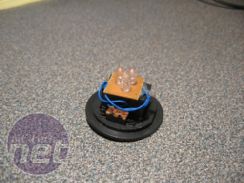
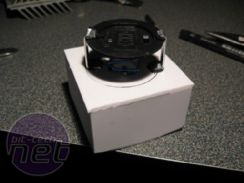
A small lava lamb cost me 0.99 Euro. I ripped it apart and used the three LEDs and microcircuit inside that fades the light in and out.
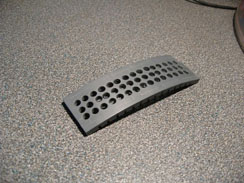
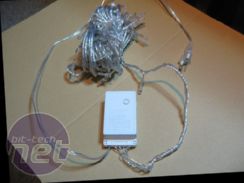
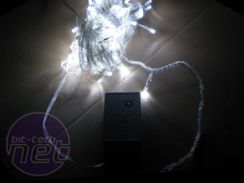
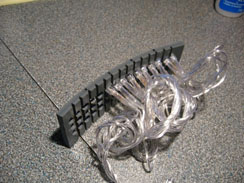
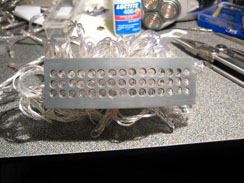
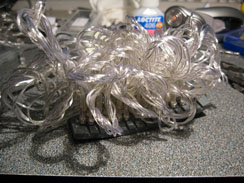
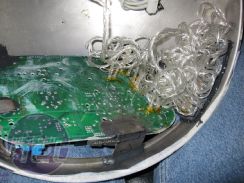
I cut up a piece of spare PVC and cut groves in it to help bend it to the curved frame, then I drilled plenty of holes for the LEDs. 100 of them, all white, from Hong Kong for just 0.99 Euros! Bargain! I bent it into the rear of the cap and then used a heatgun to match it to the curve.
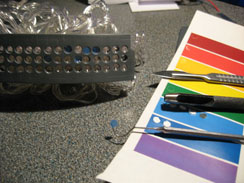
Then came the slow process of gluing the LEDs into position a few at a time, before leaving them to dry, then I made some blue transparent stickers to mix up the colours a bit (since R2 is both white and blue).
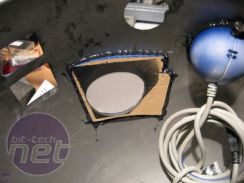
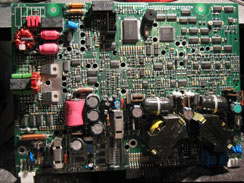
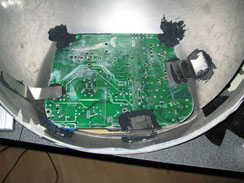
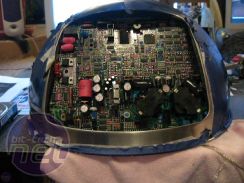
To fill in the gap at the back where the bin lid was, I found an old circuit board about the right size to give the impression of looking into the R2's head. I had plenty of spare LEDs from the 100 bundle above, so I randomly drilled 5mm holes into the PCB. Then I glued it into position with some quick and dirty supports I made from spare metal.
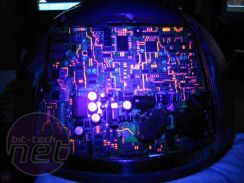
With Gelly Roll pens, I coloured the circuit a bit to highlight some of the traces. With a regular light you don’t see anything, but with UV it lights up very impressively.

MSI MPG Velox 100R Chassis Review
October 14 2021 | 15:04




Want to comment? Please log in.