Cygnus X1 by Attila Lukacs, aka oldnewby
Foreword by Richard Swinburne
This year has truly been a bumper year for triple-A mods. If you have a hard time remembering all the awesome stuff, try looking back here or wait a week until our Mod of the Year competition for 2009 launches!Cygnus X1 will only make the choice harder, as you'll see over the course of this article, as Attila has built one of the most visually subtle, but all together beautiful mods you will see this year. Despite the fact it's shape and size is pretty standard in terms of computer cases, the care and attention put into it is virtually unrivalled - with both skill in aluminium and wood work that produces a fantastic result.
When Attila dropped us the 200+ photos, he didn't just provide a project log; he gave us a how-to guide for making your own Cygnus X1. If you take your time to read over the next 14 pages of this modding masterpiece, you should certainly find an education in technique, tools, ideas and design. I found myself going through the photos going "Oh, that's not really so hard, and with such a great result!" Finally, make sure you oggle the finished pictures pictures on the last page for a while too! Over to Attila Lukacs for the rest.
In the beginning..
I'd love to tell you that one morning, while going on my daily walk through the woods I was struck motionless by a spark of inspiration. I hurried home to get this flood of images out of my head as quickly as possible before they dissolved into disjointed fragments. Once I could see the fixed images, right there in front of me, the steady process of refinement and consolidation took place until I had something that filled my belly with fire, before spurning me to action. These images would eventually become the three dimensional reality that is, Cygnus X1.That's all very romantic. The truth is that in July 2008 I'd just finished building a small workshop in my backyard and I was bustin' to actually use it to make something. Something small, but involved. It had to be intricate, with many parts. I just wanted to make something "interesting" so I grabbed an old motherboard and PSU, and after a short time had a basic layout: a backbone to work on with a compartment for the PSU below and a hollow spine vertically above. Try as I did for several weeks after, I could not go any further though, so in September I threw up my arms and just started building, hoping the rest would follow naturally.
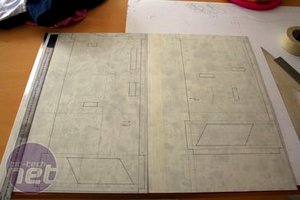
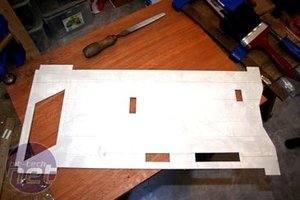
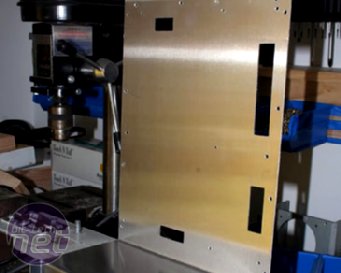
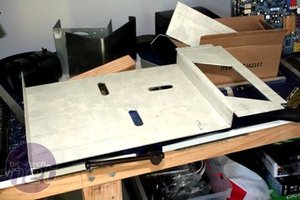
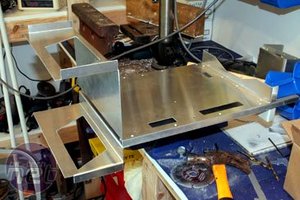
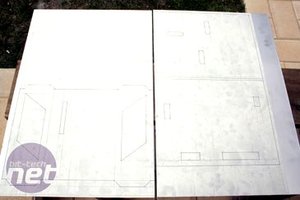
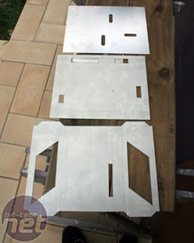
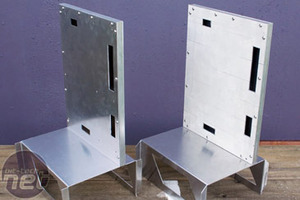
The central section was to be made from two pieces of alloy sheet and bent to make the PSU compartment, the motherboard tray and the drive mounting plate.
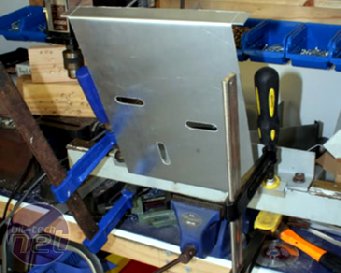
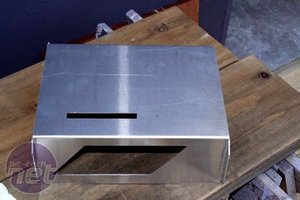
When it came to bending, in a pleasant surprise the motherboard side fabrication went smoothly. However, as are all things in life, the other side didn't go so well. The bend required here was quite small and couldn't be done in the bender. So, I improvised.
At first I thought all was good, but soon noticed that vertically one side was longer than the other, no doubt due to an imperfect bend. A quick re-design was required, and it lead to the PSU compartment becoming a separate piece that in turn bolted onto the spine.

MSI MPG Velox 100R Chassis Review
October 14 2021 | 15:04




Want to comment? Please log in.