
Curv3d by Johan Nyman (C4B12)
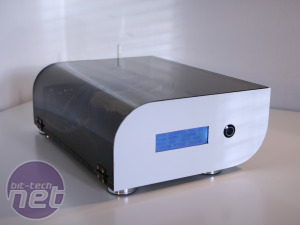
Acrylic is a fantastic material to work with. It's often the material of choice for budding scratchbuild modders (we've started our own exploits in acrylic too - read about them here ) and has lent itself to all manner of projects over the years. HTPCs, towers and out of this world scratchbuilds - they're all on the cards when acrylic is concerned.Part of the reason it's so popular is that it's so easy to work with; it's far easier to bend and cut than any popular metal. Forum user C4B12 has been kind enough to talk us through his exploits that resulted in an absolutely stunning HTPC/NAS scratchbuild. As always you can see the whole project log in our forum but read on for Johan's story on how Curv3d came to be...
Hi, I’m Johan Nyman aka C4B12. I’m 20 years old and live in Sweden. I have been modding PC’s since I got my first one. It started with modding different kinds of cases, but the last three years I've almost only been working with scratch builds. For me its just so much more satisfying, to build everything myself.
The mini-ITX format is getting more and more popular now, I see an increasing amount of mini-ITX mods in forums. Since I got my first mini-ITX motherboard I haven’t used anything else. I really love that you can make such a small case, but with a very powerful PC. So this scratchbuild is of course also based on a mini-ITX solution.
The base
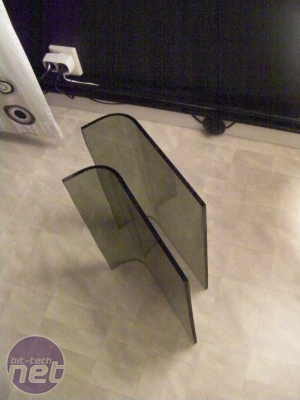
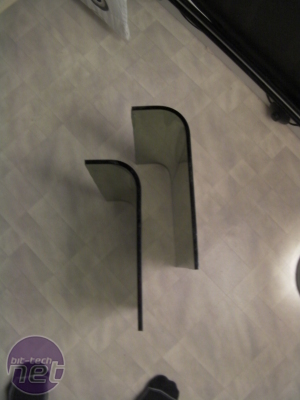
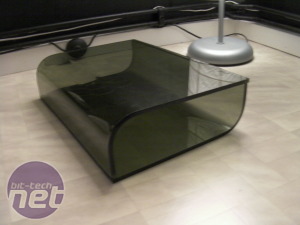
That's the idea behind the project. I decided to call this build CURV3D because of its unusual, asymmetric form. The idea for this build I got in 2011 while I was working on another project, Cold Winter. I was cutting out some pieces of 8mm acrylic for that build and two 'leftover' acrylic pieces just gave me an idea of a small case with a unique form. However, I had a lot of other things going on so I forgot about that project, until 3-4 months ago when I started it up again.
Click to enlarge
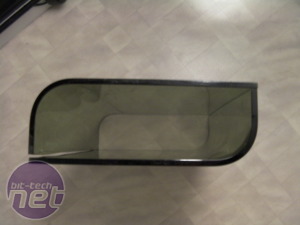
I’ve never been a 3D render guy - I get a picture in my head, how I want the build to turn out and then I work to get that result. With the two acrylic pieces cut out and prepared I got a good base to work from. This build is a very simple design. I actually only need two pieces of acrylic and two pieces of sheet metal. I’ve always try to make a case as simple as possible, because that often gives it the best look.
Click to enlarge
I always loved black and white themes, so it was an easy choice. Also I needed the components to be available easily and so I had to make a case that could be opened quickly. That makes it much easier to manage all the cables too.
Click to enlarge
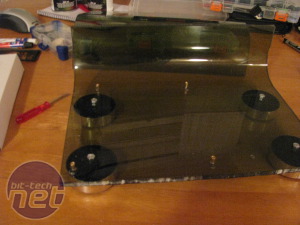
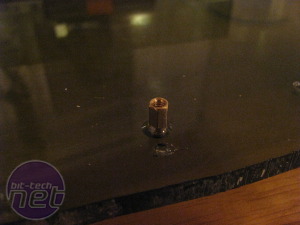
The first thing I did was to give the bottom piece some Hifi-feets[sic]. I got some really big ones, which I later on changed. I also drilled small holes with a Dremel, not through the acrylic, just around 3mm to fit for the motherboard stand-off screws.

MSI MPG Velox 100R Chassis Review
October 14 2021 | 15:04



Want to comment? Please log in.