
Foreword by Wil Harris
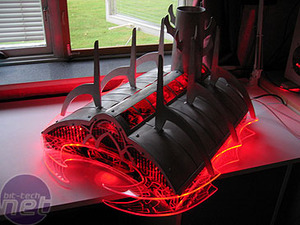
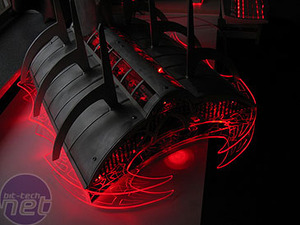
Keen followers of the modding community will recognise this project from last year, however we wanted to feature it on the site today for a couple of reasons. First of all, it's been shortlisted as a finalist for Atomic PC's HotBox of the Year - a modding competition won last year by no less than G-gnome's Orac³. Secondly, the Command & Conquer 10th Anniversary Edition is out in the shops, and this case mod is featured on the 'special features' disc. We thought it was time that we recognised Edvuld's work too, so we present the man himself to discuss the design and construction of his case in his own words. Enjoy!Temple of Nod by Edvuld
So, it's time for me to chronicle the creation of my mod. I’m building this case as a ATX case. It would have been better and smaller to use mATX, but smaller components are always more expensive. You might think that I’ve been influenced by all the other great game-themed cases posted recently, but that’s not the case(!) - I’ve had plans for about three years or so to build this. This was my project work for the last year in high school (well, the Swedish equivalent).

Planning and modelling
I started by doing a lot of sketches and a pair of models. I had to decide how the Temple would look like, since the game's now defunct developer, Westwood Studios, had a problem deciding for themselves - there are about three different designs in the original C&C game. This is the second model I produced, to get a hang of the size. The first one got way too big, so I had to optimize to get it a bit smaller - it’s still pretty big though. I had to make it so wide because I didn’t want to screw up the ratio of the dimensions.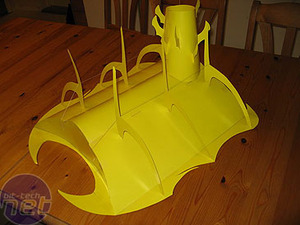
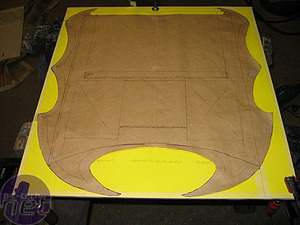
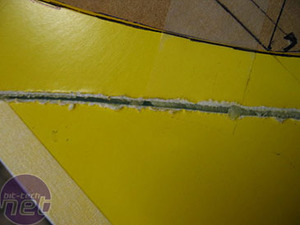
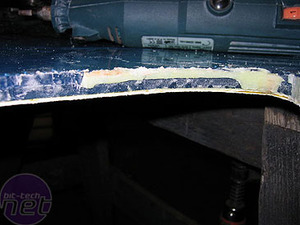
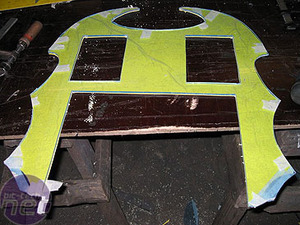
Next I started with the sawing phase. It didn’t work out well at all.

MSI MPG Velox 100R Chassis Review
October 14 2021 | 15:04


Want to comment? Please log in.