Finished!
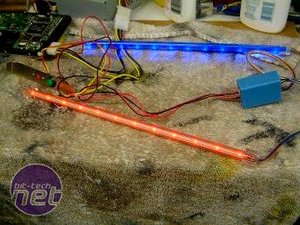
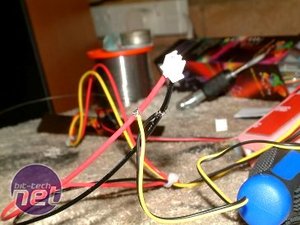
To add some animated lighting effects, a pair of “running” LED lights were wired up together - one red strip and one blue strip.
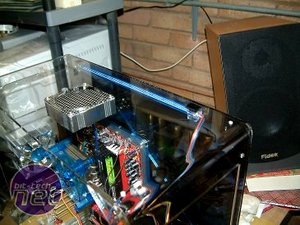
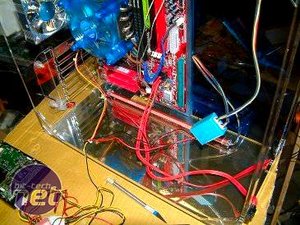
The blue lights were mounted at the top of the case using strong adhesive pads and the red strip light was fitted on the base of the case just below the mainboard. The lighting effect was accentuated by the reflective film on the base of the case.
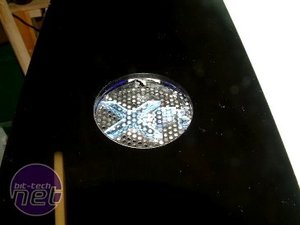
A Sound Blaster X-Fi logo was printed on to a piece of 3D film and glued inside the case on to the reflective floor. The case’ top face plate was refitted in place and a small “X-Fi” logo glued to the fan grill. Now, the internal case wiring, especially that of the front panel display display was tidied up and secured.in place.
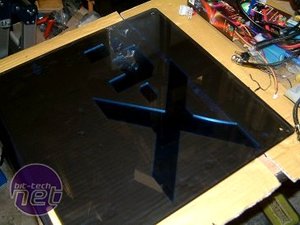
Now that the case assembly was completed , the operating system was re-installed. The installation had corrupted when the case had been dropped and damaged, but fortunately the HDD was still intact. The system was then "soak-tested" for 24 hours running 3DMark.

MSI MPG Velox 100R Chassis Review
October 14 2021 | 15:04


Want to comment? Please log in.