

Revenge is a dish best served cold
Theme: Inspired by the artwork from the film of the same name
Materials: Aspire X-Dreamer II yellow
Build Time: 6 hours
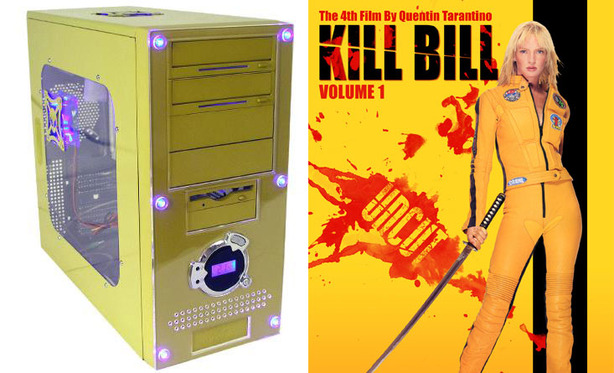
Was there ever a more obvious case mod than this? The Aspire X_Dreamer II comes in Kill-Bill Yellow right out of the box, so why do all the hard work yourself? Some might call it "cheating" but why not take advantage of the gorgeous factory paint-job to save some time? If you're somehow not familiar with the films, the essential ingredients for a Kill Bill case are:
- Yellow basecoat
- Black stripe
- Blood
- That's it...
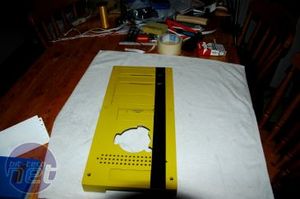
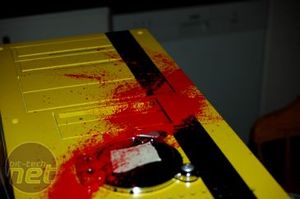
The first step is to remove the bezel, measure & mask a suitable stripe and apply with black spray paint. One cool thing about this case unlike, say, a Lian-Li, is that all the drivebay covers come off with the bezel. The top two optical bays both have stealthed flip-down covers, so it saves you from mucking around with painting DVD drive bezels.
Applying the blood-red paint was great fun, but also a bit nerve-wracking. Essentially, you just load up a brush full of paint and flick it on there, however, I would advise having some practice beforehand on some white craft paper. You want realistic-looking splatters, but since the application of the paint is ballistic you need confidence in your technique so you don't have to rush around wiping up errant flicks.
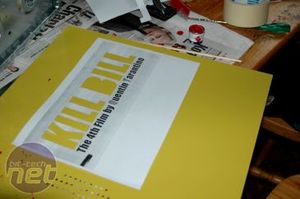
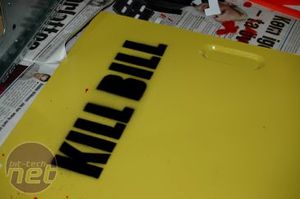
While the bezel dried, I moved over to the right-hand side of the case. I printed the title text from a photocopy of the poster, and used a scapel to cut out the letters I wanted use. Tape down the mask and ensure the whole panel is covered before spraying - we don't want any black splash-damage on the lovely, yellow panel!
With everything set, I applied a coat of black spray paint. This was just to act as a guide for my engraving.
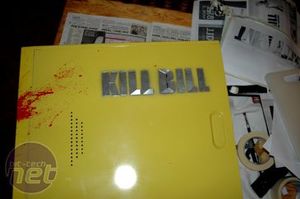
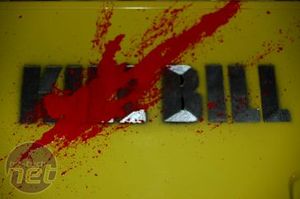
After some time carefully engraving out the lettering, here is the result. Naturally, it looked a little plain so I applied a juicy, arterial spray of blood. Right up Tarantino Terrace that! You will see the full effect shortly.
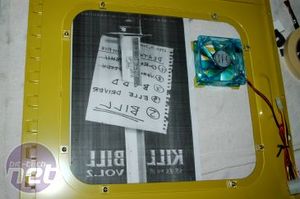
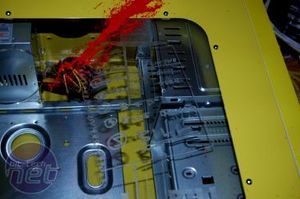
The plan for the left-side window panel was to use the "To Do List" artwork from Kill Bill Volume 2. Here you can see again the enlarged photocopy of the artwork taped in place on the window. I just engrave right through the paper onto the plexi: Uma Thurman's hitlist on some Spirex notepaper with a samurai sword through the middle of it. It is quite hard to photograph, but it came out really well. Cue more fun with the blood splatters...
Here it is:
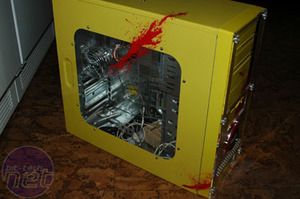
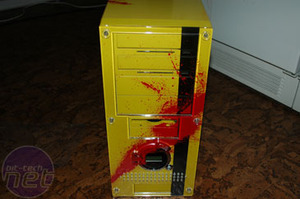
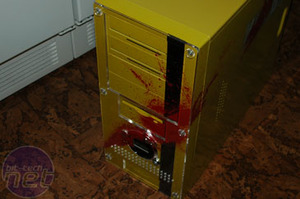
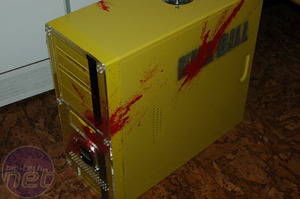
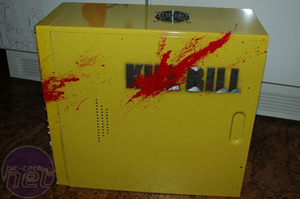
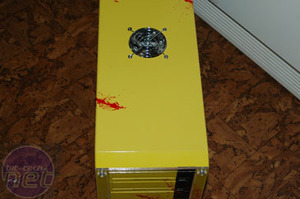
Like I said, it has been done before, but this is my version. This system will be kitted out with:
- AMD FX-55 processor
- Epox 9NPAJ SLI motherboard
- 2GB Xtreem memory
- Gainward 7800 GT graphics card

MSI MPG Velox 100R Chassis Review
October 14 2021 | 15:04


Want to comment? Please log in.