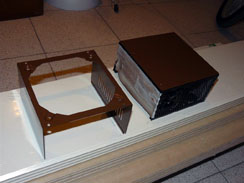
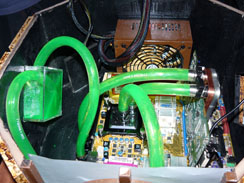
With the radiator sat in the base, the power supply pre-painted, and the yellow/brown motherboard and green graphics chosen to complement the case style, we then proceeded to mount it all inside the case.
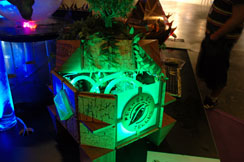
It was then illuminated with a UV cathode to react with the green coolant and a further 20 LEDs for additional lighting.
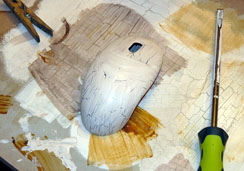
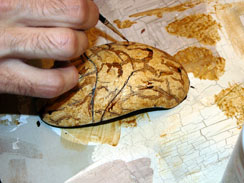
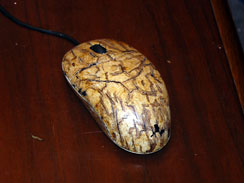
When we started modding the mouse we used the same basic technique we had previously used on the chassis for the mod, painting fine cracks on the surface of the peripheral to give it a cracked appearance – like that of a dry riverbed or coarsely cut wood.
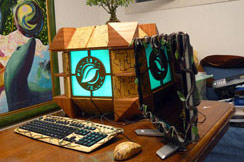
For the monitor we wanted to do something pretty dramatic and striking, but still keeping with the organic, earth-based theme of the Tellus mod. The chassis is quite brown and sandy-looking, so we felt the mod needed a bit more colour too.
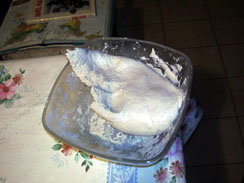
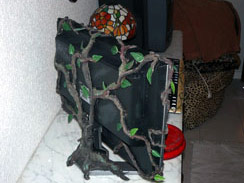
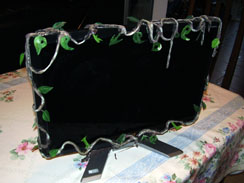
In the end, we decided to create a motif of branches wrapping around the sides of the screen, as if a tree was trying to swallow the display. Creating branches that could wrap around the sides of the monitor but still look approapriately coarse and woody seemed difficult, but in the end we decided some simple papier mache would do the trick. Papier mache is essentially made of layers of paper coated in a paste.
Using the papier mache we started to mould branches with our hands, making sure to use the flexibility and texture of the paper to create a realistic mass of branches, though we also had to make sure they didn’t cover up too much of the screen!
Another slight worry was that the papier mache might be a bit too wet, and we didn’t want to mark the screen with the paste we were using. The only real solution to this problem though was just to proceed very slowly and very carefully.
Once we had let the basic structure of branches dry then it was time to finish decorating it – a modders work is never done, it seems!
As the leaves needed to look as lifelike as possible without actually being real we trimmed a dozen leaves from rubber plants and stuck them onto the branches we had made. Because we’d used a soft material, which we had painted using acrylic paints as soon as the paste was dry, we were able to easily fix the leaves to the branches without making the joins obvious.
Careful eyes will also notice that the leaves hanging over the front of the screen have been subtly trimmed to spell out a hidden message too...
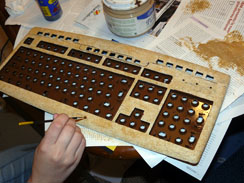
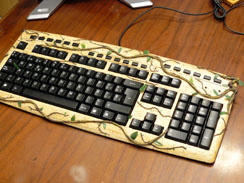
Our method of using a painted surface underneath and papier mache branches for detail had worked well so far, so we also used the same process on the keyboard; a painted, cracked base with papier mache branches on top.
To get an even covering though we first had to completely disassemble the keyboard, carefully popping all the keys off the keyboard without breaking them. If you want to try this yourself then we’d really recommend using a new keyboard for this stage by the way – there’s so much gross mess under the keys of keyboards which see daily use that it might put you off PCs for good!
We decided not to repaint the keys themselves in this mod to ensure that the letters would still be easily readable and the mod could still be used without issue. There’s not point creating a really gorgeous PC if nobody can use it, is there?
Once the spray paint had dried on the undercoat and we’d finished detailing the cracks by hand we once again went through the process of adding papier mache branches that wrap around the keyboard. This time though there are no branches underneath the keyboard as the board obviously needs an even, flat base. Once again though, we did use fake plastic branches stuck on with tweezers.
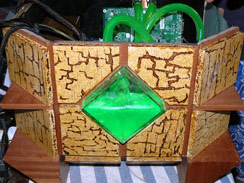
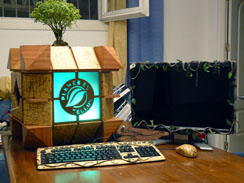
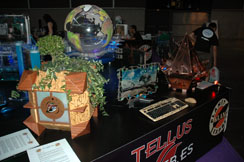
Above are the final results of Tellus with all the plants on it, looking gorgeous and healthy all at once. There aren’t many cases which can improve the air quality around them as they work, but Tellus can!

MSI MPG Velox 100R Chassis Review
October 14 2021 | 15:04




Want to comment? Please log in.