How to set up a Media Streamer
Media streamers are fantastic pieces of kit. They allow you to send all of the TV and movies that you have stored on your PC or NAS box, straight over your home network onto the TV in your living room. While plugging a media streamer in is pretty straight forward though, configuring it to work together with your PC can be a bit tricky.Although some media streamers provide optional software for media sharing, all of them support browsing your network for shared folders. We’re going to look at how to setup a media streamer to access shared folders on your Windows 7 PC.
Hardware setup
Other than a power source and an A/V connection to your TV, your media streamer needs to be connected to your home network. If you intend to stream high definition video, you are going to want to setup a wired connection between your media streamer and your PC. While many streamers, such as the Western Digital WDTV Live or AC Ryan Play On! Mini now support WiFi, either out of the box or via a plug-in dongle, we’ve found wireless streaming to be variable, both in quality and speed. If you plan on running a streamer without wires, you may struggle to smoothly play high bit-rate files.

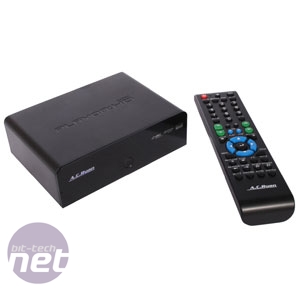
Click to enlarge. Media streamers such as the the AC Ryan PlayOn! HD Mini are great, but need a little know how to set up shares for.
That’s not to say you need gigabit hardware though, as not only are most streamers on the market only equipped with a standard 100/10 Ethernet connection, but this connection is more than capable of handling a 1080p video stream.
Out of the box, some media streamers include an HDMI cable although most don't. An HDMI cable is the only way to get a full 1080p signal to most HDTVs so unless you’re sticking to standard definition, you’ll want to pick one up.
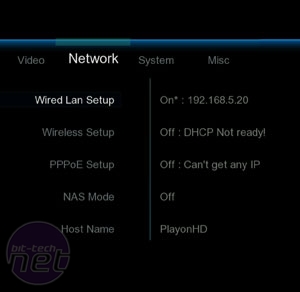
Once you have your media streamer plugged into your network and TV, you’ll want to configure it to your hardware. If you have an HDTV, you’ll want to head to the video setup option on your streamer screen and select the correct resolution for your TV. Typically this will be 720p (1,280 x 720) or 1080p (1,920 x 1,080). If you're connecting the streamer via Component (three cables; red, blue and green) the maximum resolution will be 1080i. If you’re running the audio through your TV, you shouldn’t need to configure anything else, but if you’re using an amplifier you’ll find settings for optical, coaxial, HDMI outputs etc as well as DTS streams in the player’s audio setup screen. Be aware though that not all players support all of these audio standards.
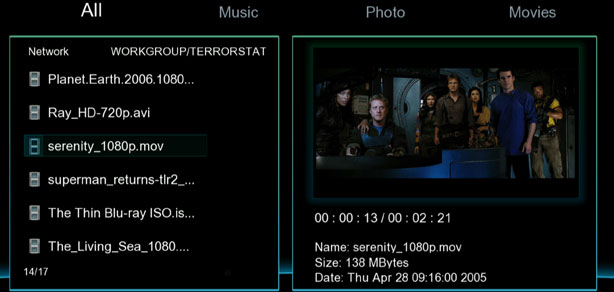
Click to enlarge - Now you can watch your movie trailers on your TV!
Network Settings
The first thing that will catch many people out is that in Windows 7 shared folders are hidden on the network by default and can’t be discovered by media streamers. Here’s how to configure the advanced network and sharing options in Windows 7 to allow you to share folders from your PC over your network with your media streamer.- Click on the start menu and launch the Control Panel.
- Select Network and Internet -> Network and Sharing Centre ->Change Advanced sharing settings
- There are two profiles here, Home or Work and Public. For the profile that has (current profile) next to it, make sure that the following are true:
- Network discovery is on
- File and printer sharing is on
- Public folder sharing is off
- Password protected sharing is off
These settings are appropriate for a secured home network. If you're running on an open network, we recommend leaving password protected sharing on for obvious security reasons.
You should now be able to share a folder on your network, which will be visible to your media streamer.

MSI MPG Velox 100R Chassis Review
October 14 2021 | 15:04


Want to comment? Please log in.