SSD Modding: Vinyl, Painting, Brushed Aluminium, and More
June 16, 2017 | 14:20

SSD Modding: Vinyl, Painting, Brushed Aluminium, and More
First things first: Our little modding guides are here to give you new ideas and inspiration, These may not be the best way of doing things, and others may do things completely differently, but these are the ways I do things. Modding is very much about finding out what works best for you. Experiment, learn from others, and don't be afraid to fail.When modding, it's often the little details that make a big difference. Nowadays we expect to see things like sleeved cables, PSU covers, and full colour coordination, and they do make a big difference. Today, though, we are going to be looking at SSDs. Yup, that's right, that little rectangle of joy that gives us quick loading times and none of those horrible disk spin-up sounds.
I always mod an SSD if I'm building a system, usually because companies don't have the same colour theme in mind as I do, which means I have to do something about it!
Click to enlarge
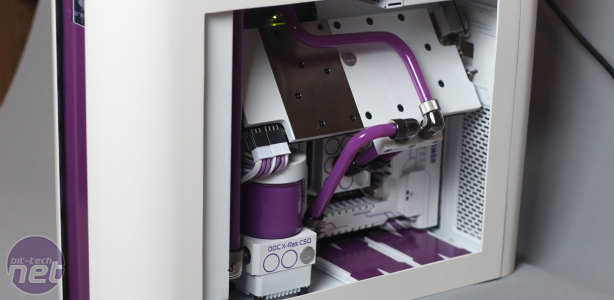
This is just one of my builds in which I have modded an SSD to match the theme. The SSDs in this one are HyperX, 3K and as with pretty much everything in this build they started life as black and grey.
So, what can you do with SSDs? Well, pretty much anything your little heart desires. There are no moving parts, they are quite robust, and usually they come apart easily, so you don't have to worry about damaging the PCB. Okay, you will void warranties, but who uses those around here?
Vinyl Mod
Click to enlarge
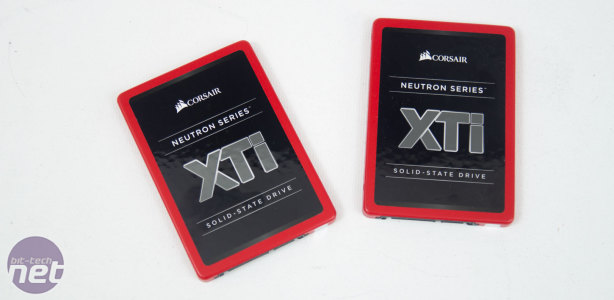
For our mods today, we're using a Corsair Neutron Series XTi 240 GB, for no other reason than it was on the table when we came up with the idea of an SSD modding guide.
Click to enlarge
Straight away I noticed that the XTi has a sticker on top. If you remove that, you have a completely blank canvas; it's almost like Corsair wants you to rip it off and do your own thing.
Click to enlarge
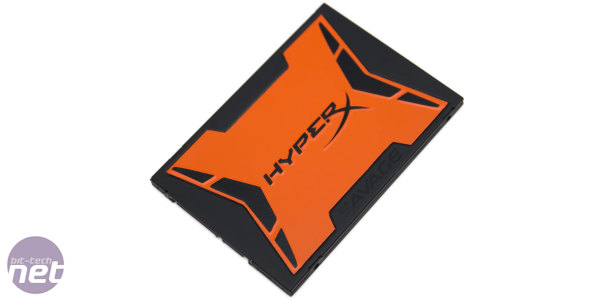
I used to always paint SSDs, but recently I have moved over to vinyl, mainly because paint is a lot harder to remove, and it would mean buying lots of SSDs or asking sponsors for lots. Either way, it meant that the painted ones usually weren't used after a mod had retired and simply sat in a cupboard scratched and battered from travelling to multiple countries. Above is one of the vinyl SSDs I created for a build last year; you can really get some nice effects.
Click to enlarge
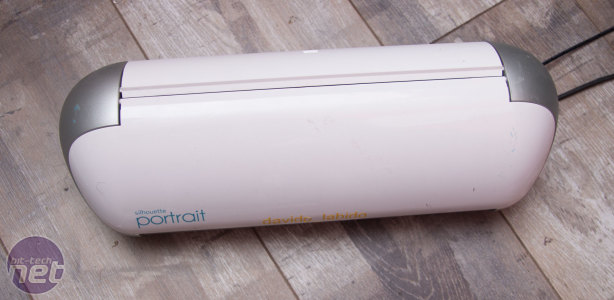
I cheat a little bit here, as I have a vinyl plotter. These are becoming just as much a part of a modder's arsenal as a Dremel, and whether you love or hate vinyl they have many uses. Mine is a Silhouette Portrait, which is quite a cheap one, but there are far better ones out there. Even though I use the plotter, you can still do everything here with a steady hand and a scalpel or craft knife. Rob 'Megadeblow' Deluce uses vinyl often, and he doesn't own a plotter; he does everything by hand.
Click to enlarge
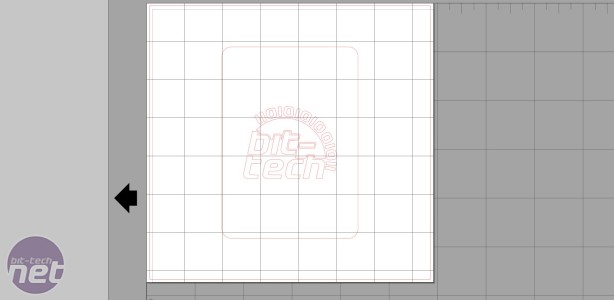
With my plotter, I simply have to design what I want to have cut out. My plotter's software, Silhouette Studio, isn't perfect, but it does work (sometimes), and there are tools to help you so you don't have to draw everything by hand. You can find pictures and trace around them, for instance.
Click to enlarge
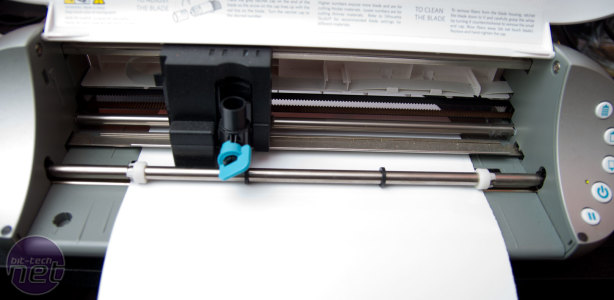
Once the design is complete, I just send it to the plotter to cut. It's rather satisfying watching it slice up the vinyl. Transferring it to the SSD once it's finished is easily done: Use some aptly named transfer paper and just place it on the SSD. This ensures everything stays in place, and you can make sure it's all level.
Click to enlarge
Straight away you can see the stark contrast between the original and the modded SSD. This is how simple it can be; you don't need to go crazy to create something different.
Click to enlarge
This method is so useful, Dan 'B NEGATIVE' Harper even popped a plotter in his suitcase when we were competing in a modding contest in Taiwan last year!
Head over the page for tips on painting an SSD.

MSI MPG Velox 100R Chassis Review
October 14 2021 | 15:04






Want to comment? Please log in.