Replacing Mechanical Keyboard Switches: Corsair K65 RGB Mod
January 19, 2017 | 12:38
Companies: #corsair

The Switches
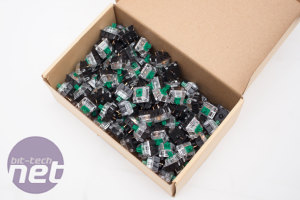
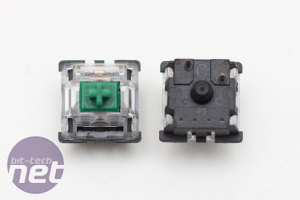
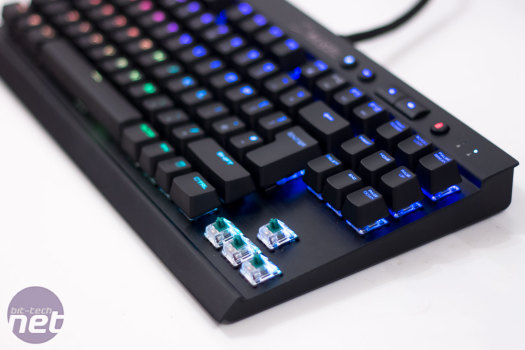
My favourite switch is the Cherry MX Green (sometimes Clears, depending on how I am feeling), but a good substitute for the Cherry switches is a set of Gateron Greens. These are far cheaper and easier to get hold of than the Cherry MX switches, and for around £30 (including delivery) you can get 104 switches - not bad at all.So, for those who want to know a little more about the switch, a Gateron Green switch has an actuation force of 80g and has a travel distance of around 2.3mm. It is also tactile and has an audible click. Using these switches does take a little time to get used to, as pressing each one is a small workout for your fingers, but once you do get used to them, you will not want to use anything else, especially if you type a lot.
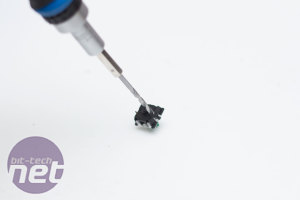
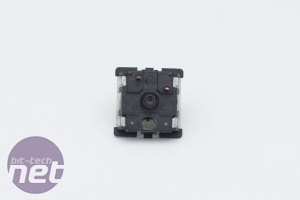
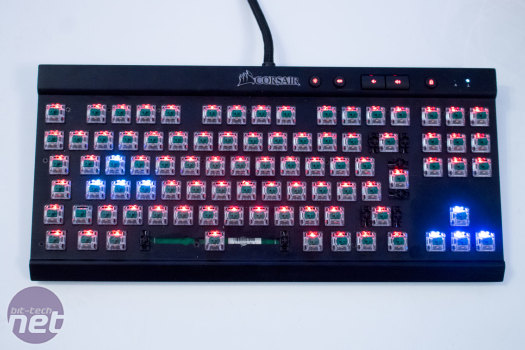
As you will have probably noticed, there are SMD (surface-mounted) RGB LEDs on the PCB of the Corsair K65 RGB. This is great, but the switches I have purchased come with a black casing on the bottom and the light just wouldn't shine through. I wasn't really sure what I was going to do about this. At first, I thought about seeing if I could figure out the PCB layout, piggy-back it for some standard LEDs, and keep it glowing white. Then I realised there was a far simpler option: Make a hole in the switches so the light can pass through! I used the drill bit I mentioned earlier paired with my trusty mini screwdriver; it worked like a charm.
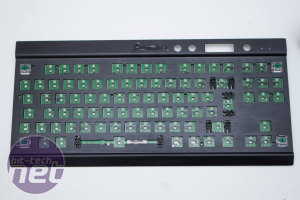
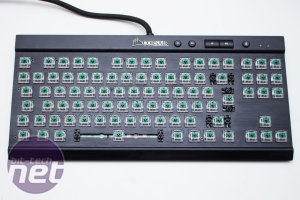
Once I had drilled enough switches to fill the keyboard, I started to solder them into position. When doing plate-mounted switches, I always do the four corners first and then a few in the middle. This helps to stop the plate from being able to move away from the PCB and just makes life easier.
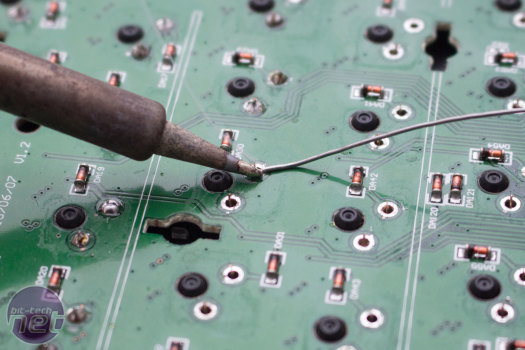
One thing I personally believe is that people worry far too much about how their soldering looks - don't! As long as it is a good connection and the switch doesn't wobble, it is fine. Forgive the picture below; I was trying to hold a camera, the soldering iron, and the solder, so it is terrible, but the joint made was still perfectly fine and it goes to prove a point: If I can do it, anyone can.
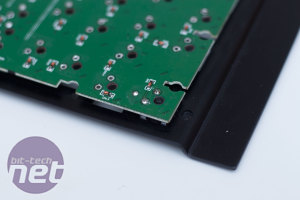
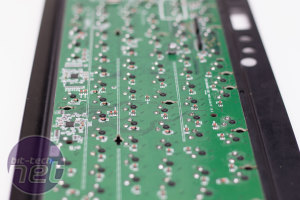
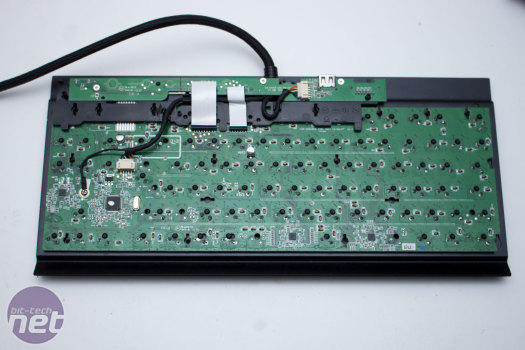
After a little while and after dropping the soldering iron onto my leg because I got a phone call (thank you, Matt!), I finished the whole lot. One thing I made sure I did was multiple visual checks. I made sure every pin had a dab of solder on it and that there was no solder where there shouldn't be. I also flipped the keyboard over to make sure there were no loose switches or anything untoward.
Once everything was okay, I started the simple job of putting the case back on and connecting everything back up. I just made sure I took my time and got everything in place before I started to screw the case back together; there is no point in ruining a perfectly good mod because you are rushing!
Once finished, I gave it a quick test to ensure all the LEDs were working. They were, but I noticed one was dimmer than the others (bottom-left). This was a bit of plastic waste that had fallen inside the switch from drilling the hole in the switch. Luckily, I was able to get a needle and pull it out!
After that, it is just a matter of putting all the keycaps back on. The mod isn't hard. In fact, it is quite simple; sometimes the best mods are! I wanted a K65 RGB, but I just couldn't stand the soft switches. Now I have done this mod, I will be far happier with it. For £30 for the switches and the cost of some solder, well, it is worth every penny. I have to admit, it is beautiful now!
I hope you have enjoyed reading this, and as already mentioned, if you are going to give this a go, please make sure you know what you are doing or, if not, make sure you can spend money on a new keyboard if anything should go wrong.

MSI MPG Velox 100R Chassis Review
October 14 2021 | 15:04




Want to comment? Please log in.