Replacing Mechanical Keyboard Switches: Corsair K65 RGB Mod
January 19, 2017 | 12:38
Companies: #corsair

Corsair K65 Switches Mod
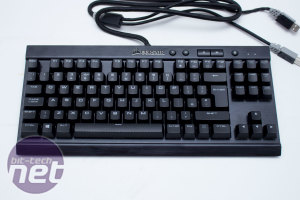
Since the release of the Corsair K65, I have been interested in getting my hands on one; my main problem? Well, I like green switches. I don't really mind if they're Cherry or Gateron as long as they are heavy and click. Corsair doesn't use Green switches in its products (hint hint, Corsair!) so I thought I would mod one so that I could use it with my Corsair builds.Before I go any further, I will say that modding your keyboard, as with pretty much everything else, will void your warranty. There is also a good chance that you will damage either the keyboard or yourself if you do not take your time with it. Don't do it unless you are confident, or you can afford a new one should it go wrong.
Tools
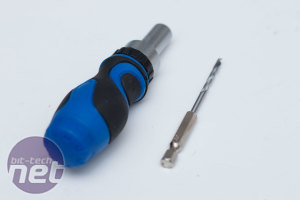
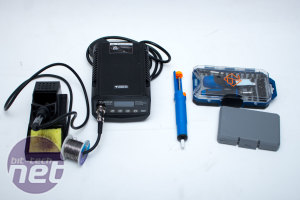
First of all, these are the tools I'll be using. I also have some soldering wick, but these are the ones that I use far more. I don't own any really expensive tools, and most if not all of my tools can be bought from local stores. The soldering iron is the most expensive thing here, and I would suggest buying a temperature-controlled one; the cheap and cheerful ones generally don't go hot enough to desolder the stuff manufacturers use.Other than the soldering iron, I am going to be using a soldering pump (or soldering wick), some screwdrivers, and some solder. Also, I grabbed a box of drill bits that actually fit in a screwdriver, and they're excellent. They were called 'quick-change hex drill bits', and they are great for when you want to be careful and gentle when making a hole. You will see why I use this later.
Disassembling the Keyboard
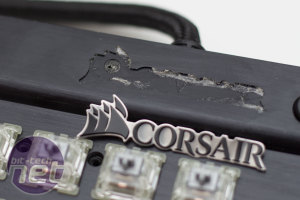
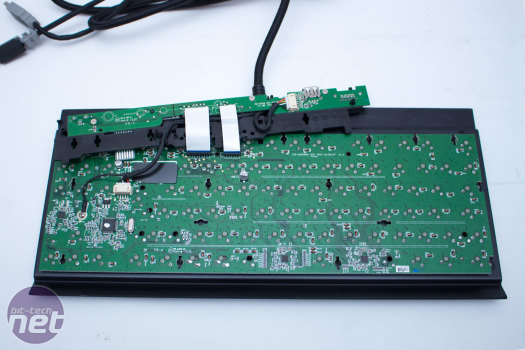
Keyboards generally come apart quite easily. There are typically four to six screws on the rear of the board, and one of them is usually hidden under a sticker so they know if you have tampered with the board or not. The Corsair K65 RGB is slightly different, as all of the screws are on the front of the keyboard and there are a lot more of them - 17, to be exact!. To access them, I removed all of the keycaps. There was a sneaky screw hidden under the Corsair logo, but luckily the logo can be removed easily enough with a fine tip screwdriver or craft knife.Once I had taken out all of the screws, I could then remove the back plastic cover from the keyboard. I had to make sure I was very careful, as whilst I was doing it, I could feel that there was a separate PCB and I figured there would probably be cables connecting the two. Being cautious paid off, and I was able to separate the case from the PCB. I removed both ribbon cables from their little slots as well as the earthing wire and another connector.
Desoldering the Old Switches
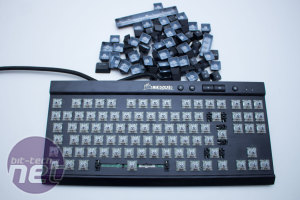
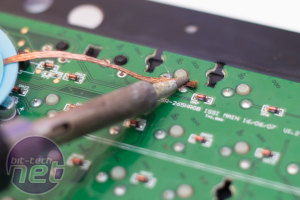
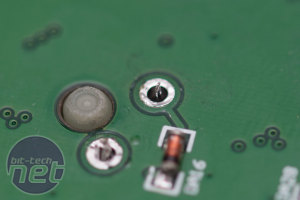
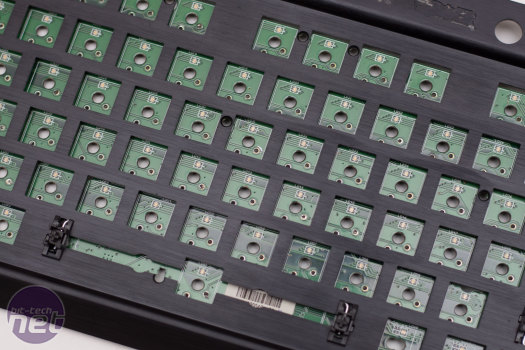
This then left me with all the switches soldered through the aluminium front plate and PCB, locking them in place. People desolder in different ways; I prefer to use a solder pump to suck the solder away, but sometimes solder wick can be useful too. I tried solder wick first, but reverted to the pump after a while, as it just worked far better. I removed all the solder so that I could just push the switches out.A good few hours later and after some rather time-consuming PCB cleaning, I got the keyboard to this point. You can actually remove the aluminium frame now. I did play with the idea of actually spraying the keyboard and changing the colour entirely, but I thought I would save that for another day so I could show you guys!
Now we have got to this stage, it is time to add the Green switches... On to the next page!

MSI MPG Velox 100R Chassis Review
October 14 2021 | 15:04





Want to comment? Please log in.