Nanoxia Project S Water-Cooling Build: Part Three
November 22, 2016 | 09:51
Companies: #aquatuning #bit-tech #corsair #nanoxia

Finishing Up and Leak Testing
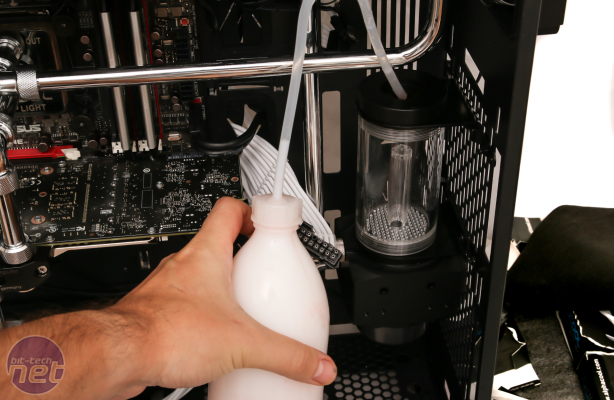
With all the components connected, check each fitting is locked tight both at the base on the water block and in the bends - it's very easy to miss one and end up with a leak so prevent this silly mistake by checking them all before you fill the system. Once you're ready, fill the reservoir with your chosen coolant. If your tubing has strayed a little close to the reservoir to make filling tricky, a filling bottle is a fantastic tool that can prevent spills and it also allows you to top up the reservoir with small amounts as well as filling it quickly if needed.Click to enlarge
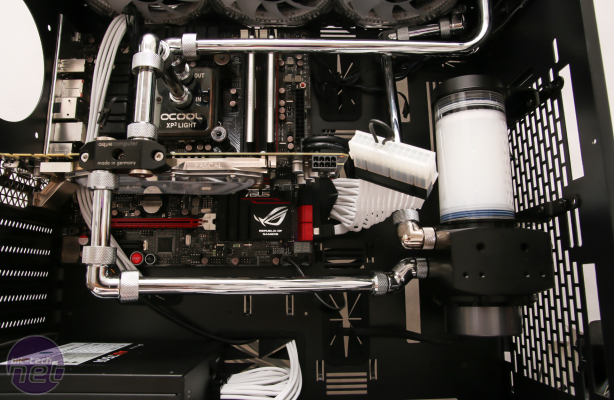
With the reservoir full, the next thing to do is temporarily disconnect all power connectors from your hardware. Leave the pump connected, though, and use an ATX jumper to power on the PSU. This allows you to power on the cooling system to check for leaks without risking your hardware.
Click to enlarge
The first time you power on, it's often a good idea to switch off the PSU, insert the jumper in to the 24-pin ATX connector as shown, and have your finger on the PSU power button - this way, if a leak does occur you can flick the switch quickly, killing power to the pump. In the very unlikely event you do have a leak, your hardware will be fine (if you've followed these instructions of course) and will just need to be dried out thoroughly - cloths and a night in a warm airing cupboard usually does the trick.
Click to enlarge
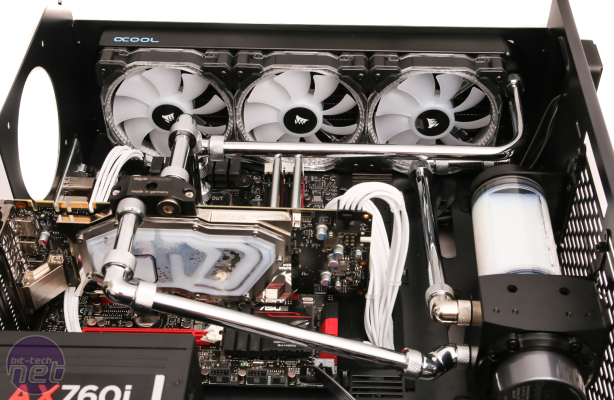
Most leaks will be easy to identify. However, slow leaks can sometimes occur, spilling a very small amount of liquid in a few hours. For this reason, even if you've leak tested with the jumper for 24 hours, it's still worth wrapping some white tissue around every joint. This will collect any coolant and leave a stain behind. With white coolant that's a bit tricky, but coloured tissue paper usually allows it to leave a mark. A 24-hour non-powered leak test followed by few days of powered slow leak testing with the system warm might sound like it's over the top, but for the sake of 24 hours plus a few days with some tissue placed around your PC, it's worth it and a practically fool-proof method for ensuring a leak-free future for your system.
Click to enlarge
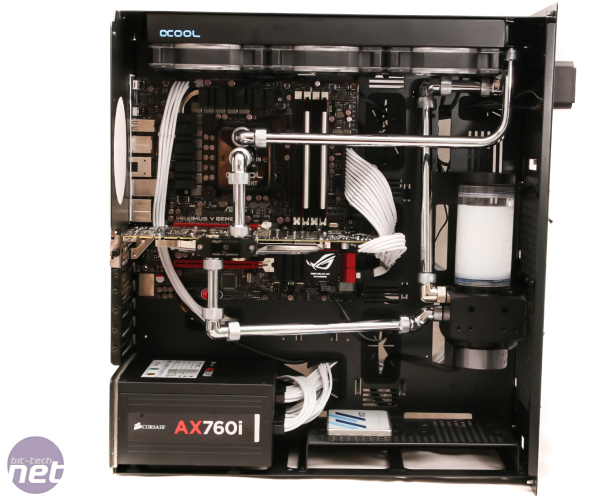
You're free to pick your own fans, of course, but for some added bling, we've gone with Corsair's rather awesome HD 120 RGB fans. These can be controlled via a hub and control box, which can cycle through a range of colours and effects. We'll leave you with our shopping list of hardware and tools used in this feature, should you fancy a go - a huge thanks to Corsair, Nanoxia, Aquatuning and Aqua Computer for supplying the parts needed for this build. You can see some eye-candy over the page of the finished project.
Shopping list:
Filling bottleAlphacool Nexxxos XP3 Light
Alphacool Eispumpe VPP755
Alphacool Eisbecher D5 150mm
Alphacool Nexxxos ST30 Full Copper 360mm radiator
Alphacool Eiszapfen 13mm HardTube compression fitting
Alphacool HT 13mm HardTube compression fitting 90° L-connector
Alphacool Eiszapfen angled adaptor double-45° rotatable
Alphacool HardTube 13/10mm brass chrome
Aquacomputer Kryographics Pascal for GTX 1080 and 1070 acrylic glass edition
Phobya ATX-bridging/jumping plug
Mayhems Pastel - White

MSI MPG Velox 100R Chassis Review
October 14 2021 | 15:04



Want to comment? Please log in.