Spray Mounting
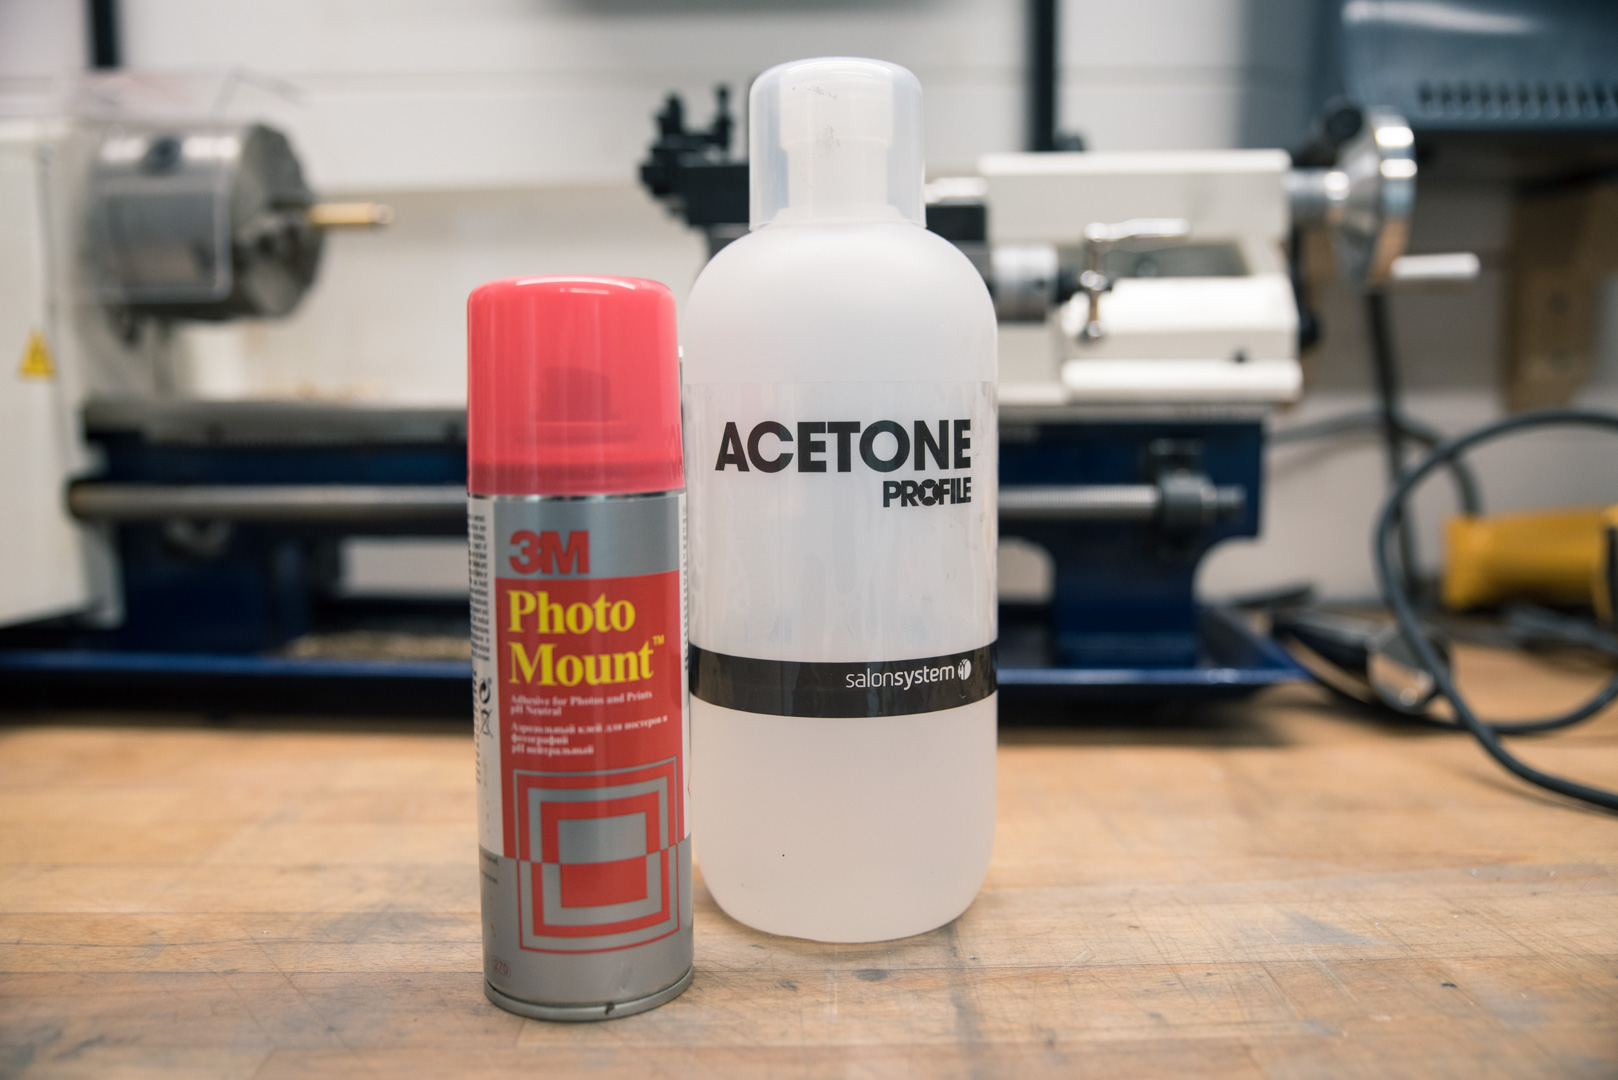
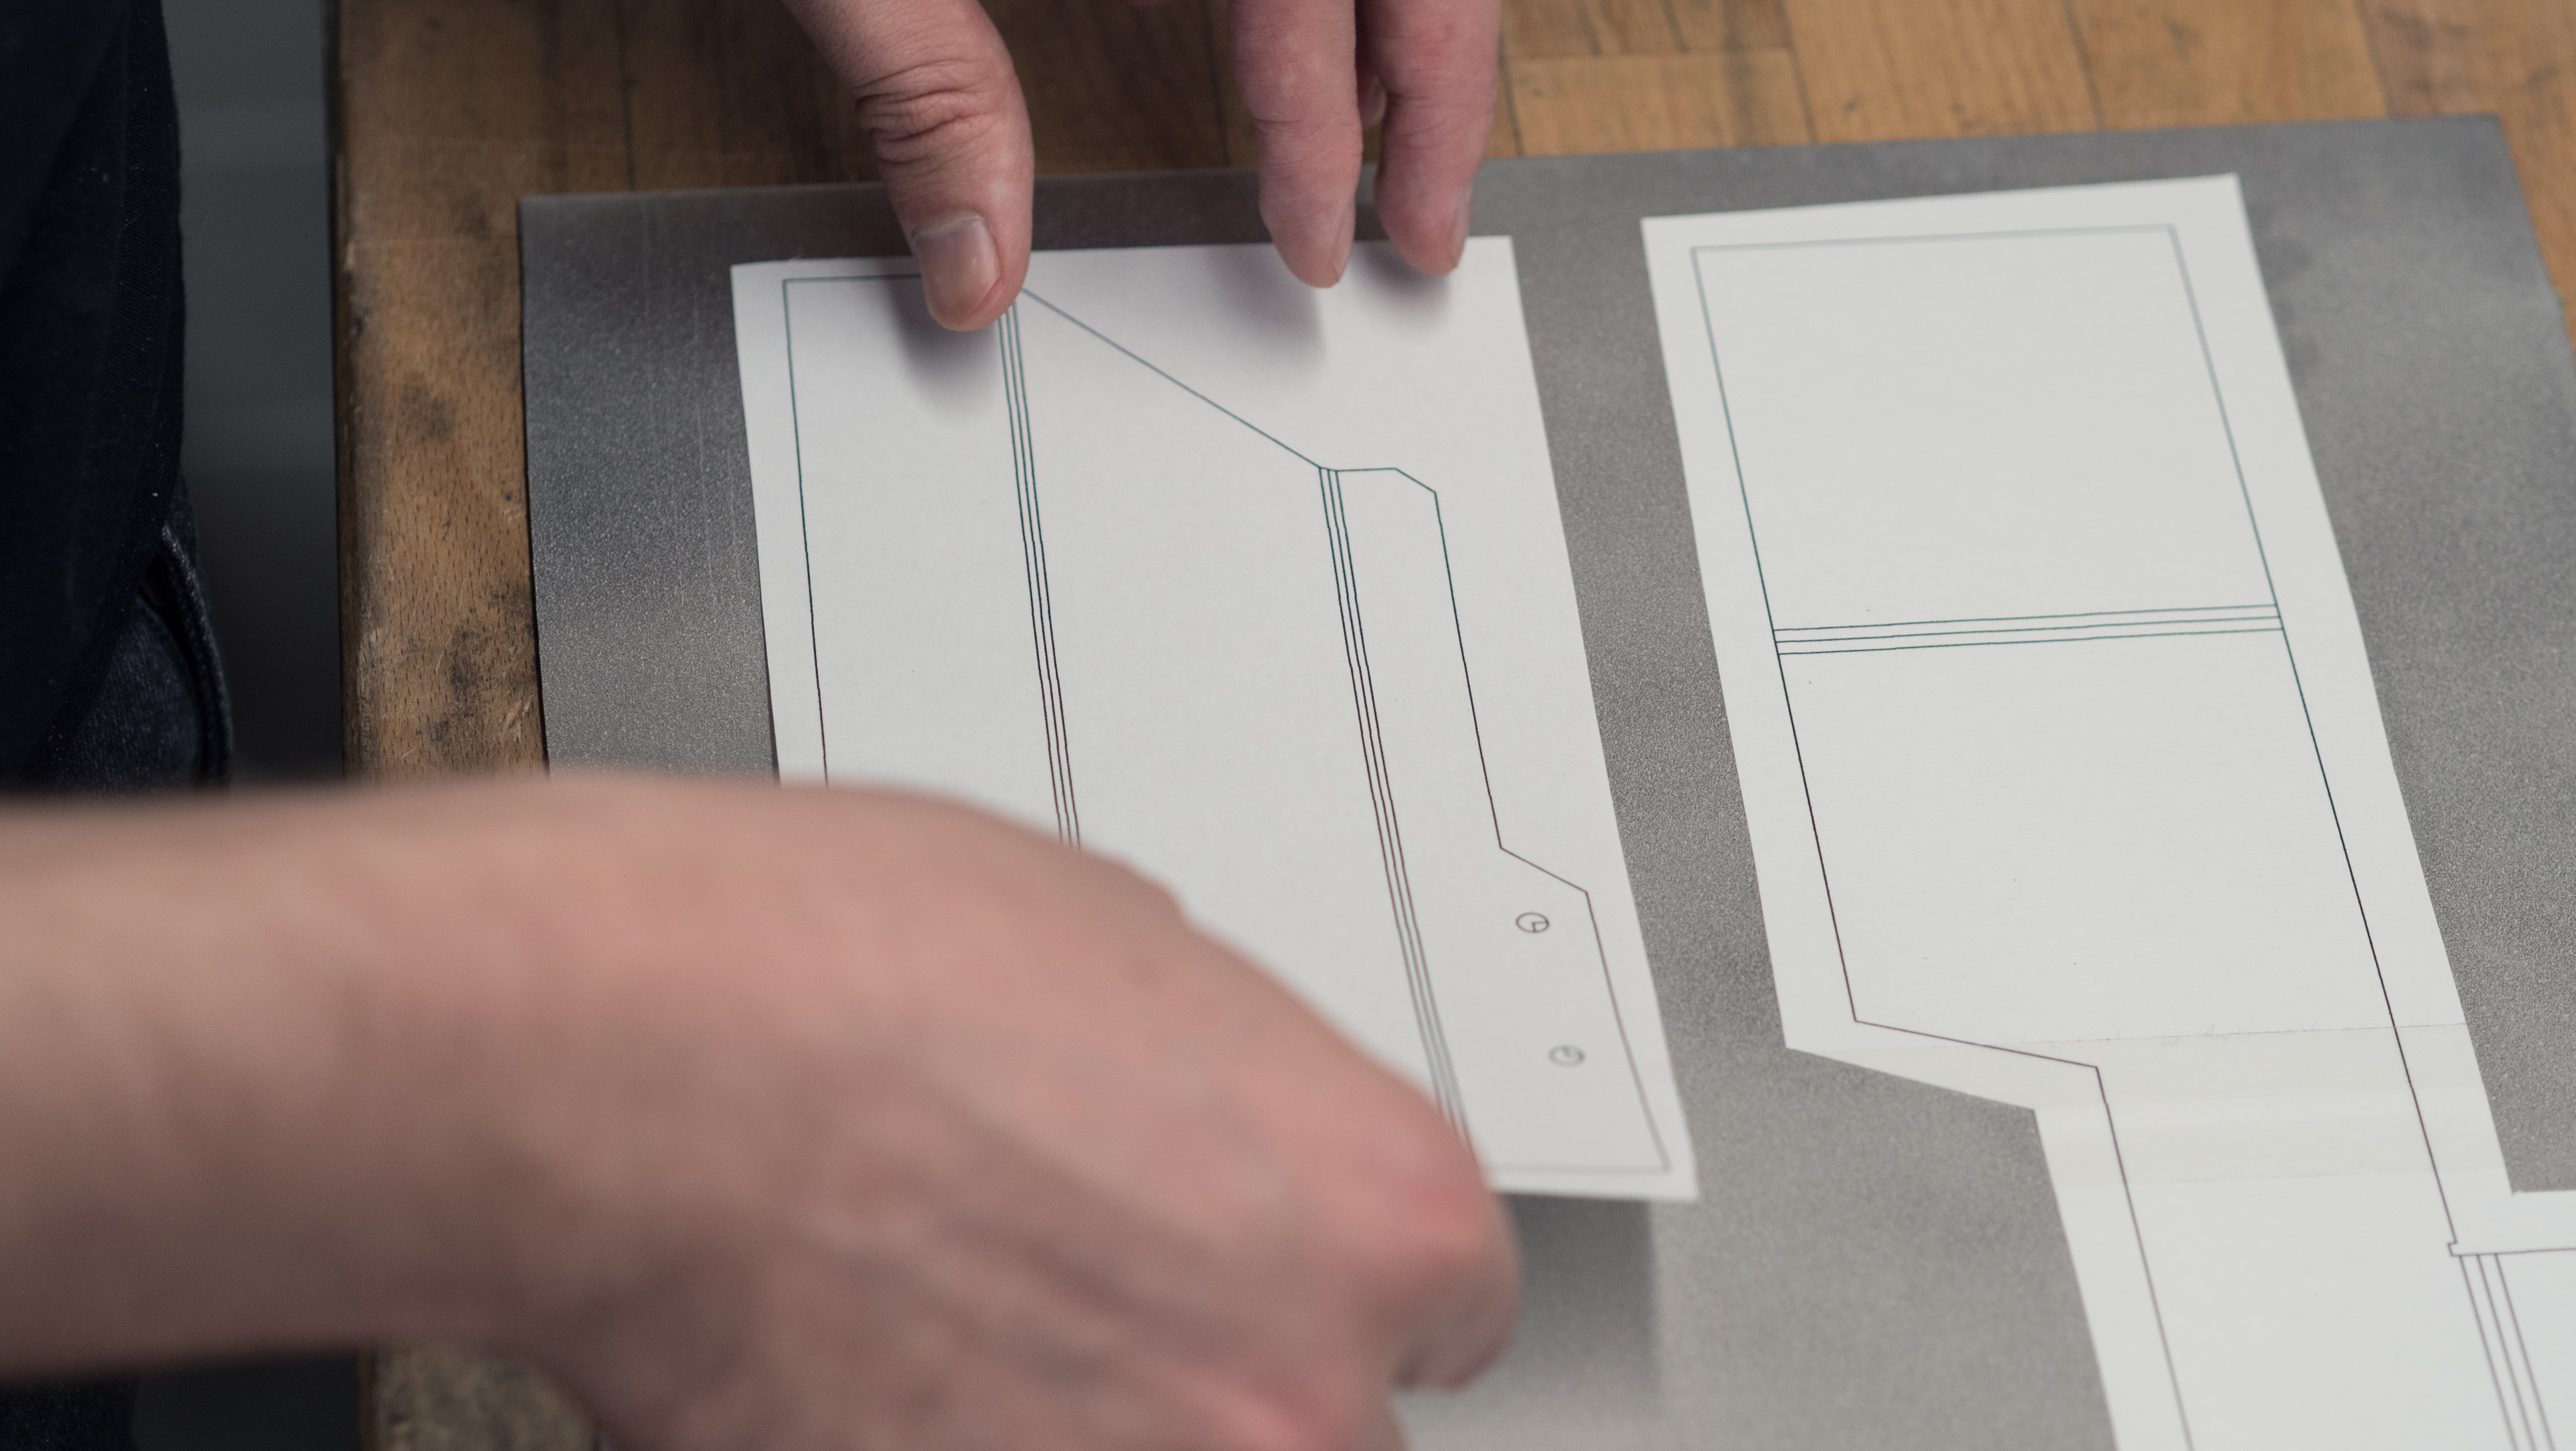
Now that the template is printed, it's time to attach it to our material so that it can be used for cutting. There are multiple ways depending on the material, but the one I like the most is spray adhesive. The spray adhesive provides a very strong and even bond to the material, so parts of your template won't just fall away during the actual cutting work. If affixing to metal, you can go ahead and attach it to the surface directly. To remove the template when you're done, simply rub down with some acetone (nail polish remover) and the glue will dissolve, releasing the template from the surface.
If you're working with acrylic, however, you'll want to make sure you don't attach to the surface directly, as any solvents used to remove the glue will likely damage the material too, especially alcohols. For this case I would recommend sticking the template to the protective film that comes pre-applied to plastics, or using painters tape to mask the surface. Bear in mind that the adhesion won't be as strong as when working on metals, so you should be a bit more careful.
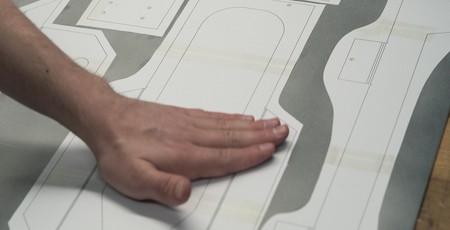
Since I started using this method, I've certainly found that it's helped me enormously with being able to reference straight edges on-the-fly, plus having useful visual cues for things like angles and hole placement is a real advantage. It's particularly convenient for bent sheet metal work, as you can design the part in CAD beforehand, unfold the part, and have a scale template that's immediately ready to work with.
Please feel free to share your own tips and techniques for making and sticking templates in the comments section!

MSI MPG Velox 100R Chassis Review
October 14 2021 | 15:04



Want to comment? Please log in.