Can YOU Machine This Reservoir?
July 30, 2019 | 17:30
Previously we've had a look at designing a distro plate in Autodesk's Fusion 360. We also then explored how one might actually machine one too. However, this time I thought it would be fun to offer you lovely readers/viewers a challenge, throw down the gauntlet, and issue a test of home-machining resolve.
Link to .STEP file of the reservoir
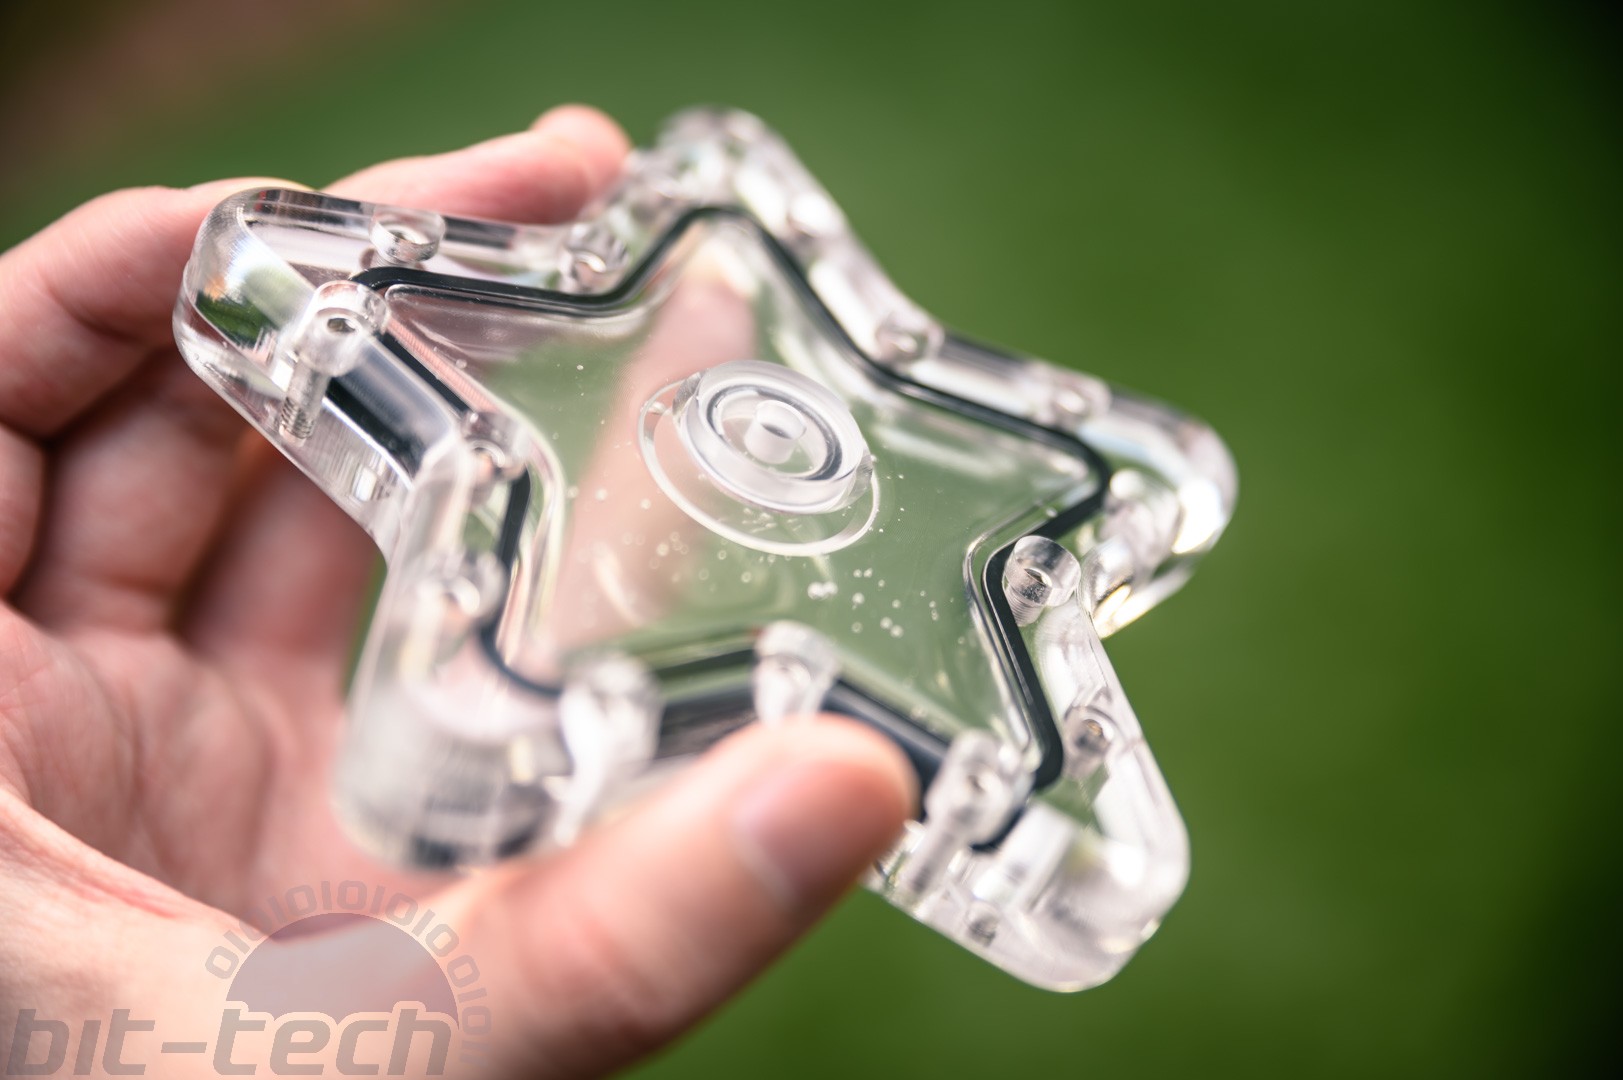
CNC machining, much like 3D printing, is fast becoming a field that is approachable for hobbyists. If you follow the modding scene much on social media, you'll likely have seen just how many folks have recently picked up CNC router kit like the Shapeoko or Ooznest Workbee. It's amazing how this technology has reached the point where it's no longer the reserve of those purely with serious manufacturing intentions. Of course, just because the machinery itself has become more accessible doesn't mean that the subject is trivial. Anybody who's tried to push their machining knowledge (be it through their profession or at a hobby level like myself) will have found that it's really not as straightforward as it first appears.
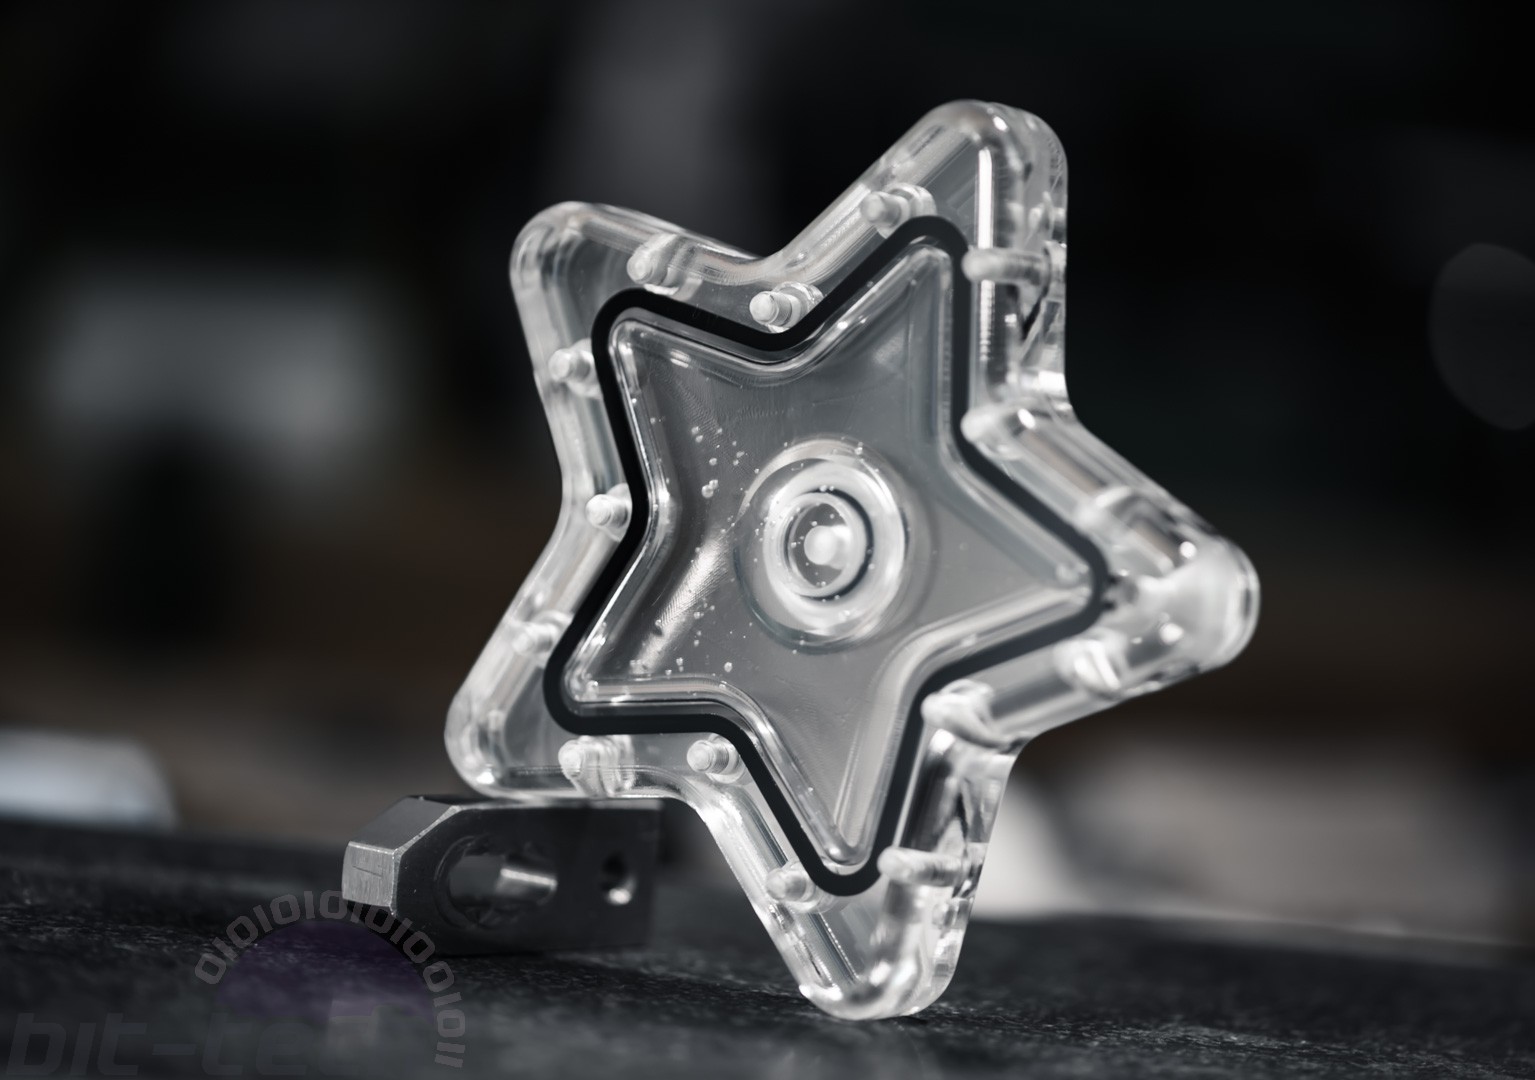
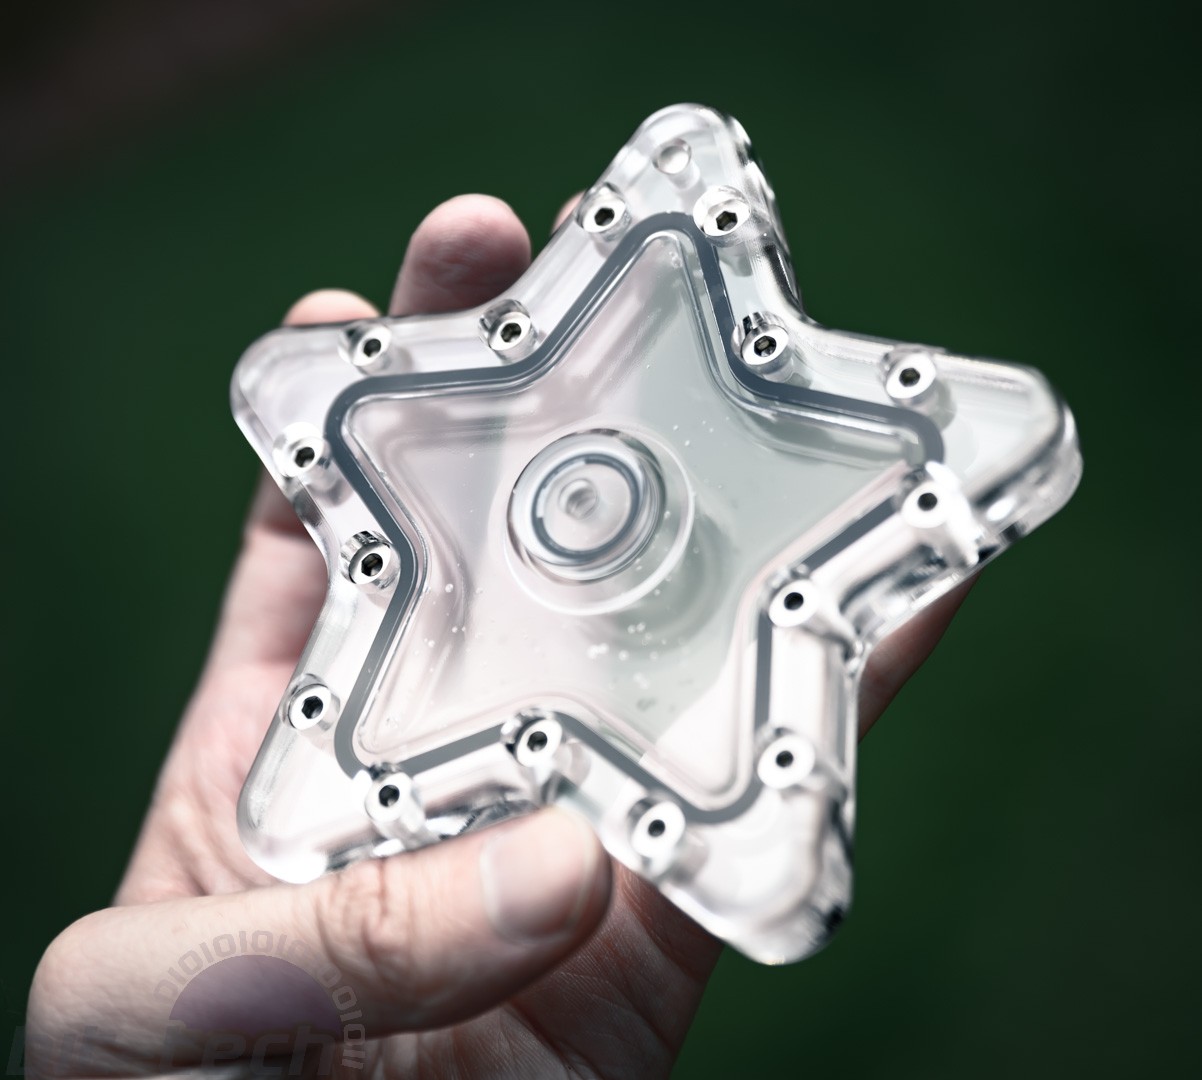
So, to that end, I'd like to see how you, fellow members of the modding community, might machine this dinky reservoir?
Now, I do understand that this does require having access to a CNC router/mill, which unfortunately isn't quite at the level of home 3D printing yet, but I'd be absolutely thrilled if anybody were to give this a shot.
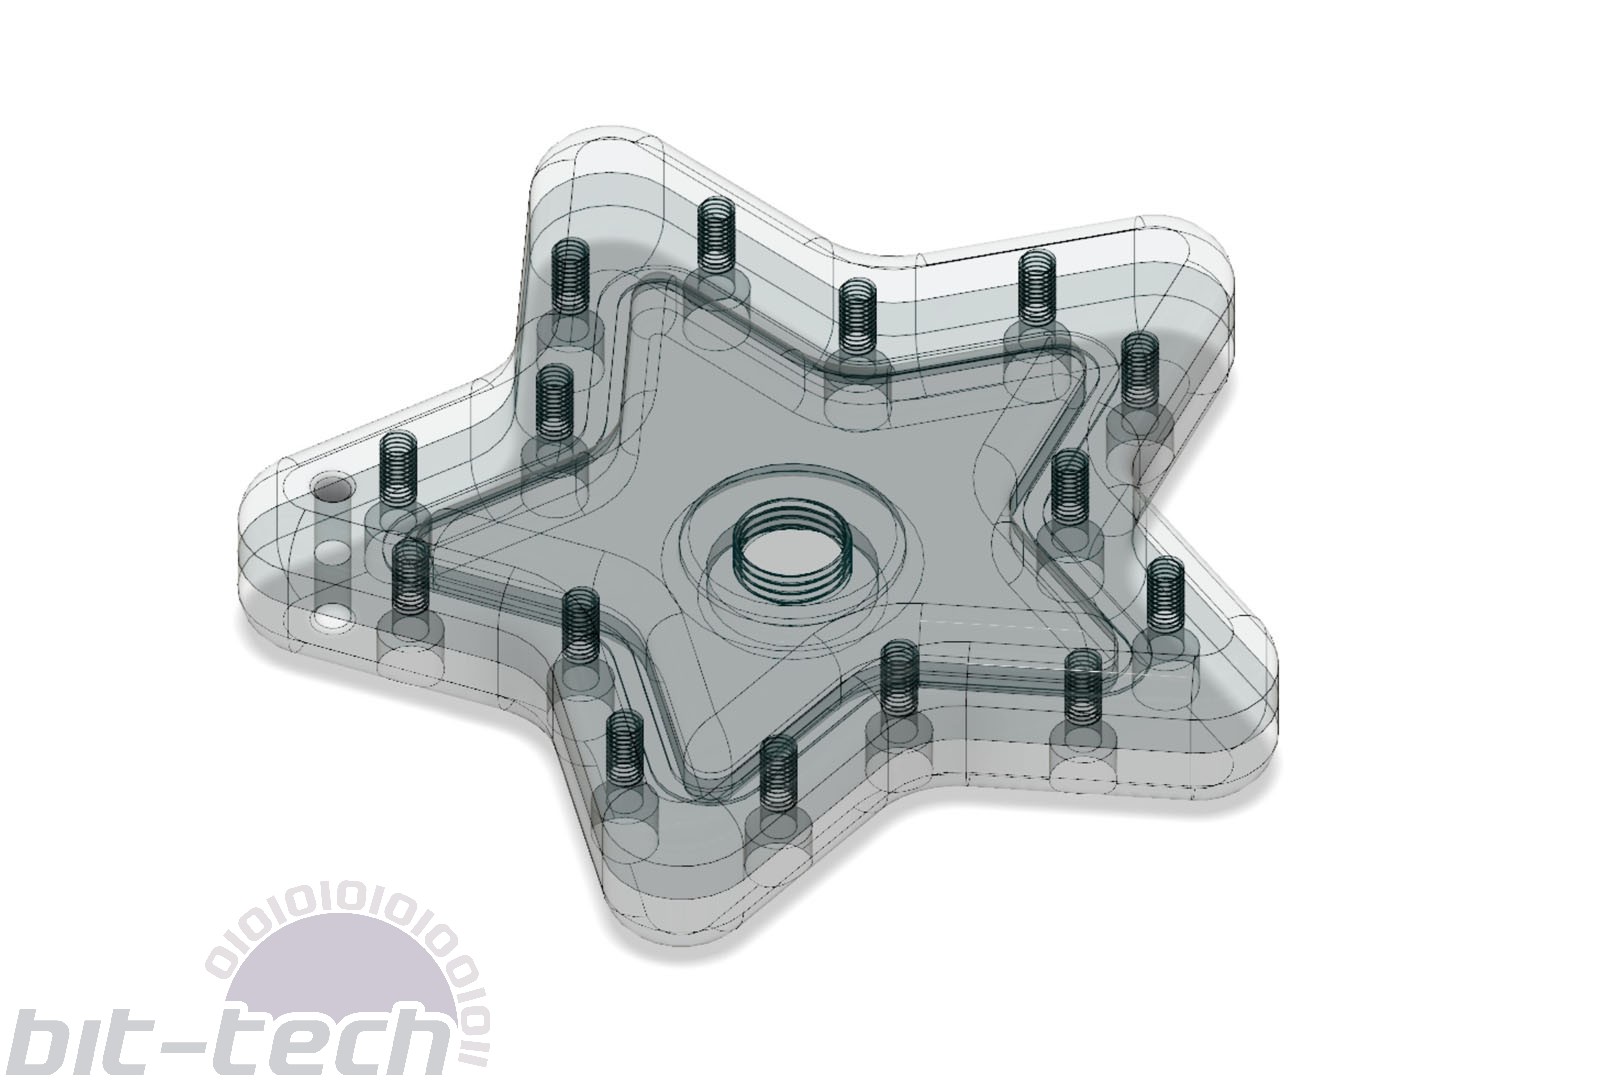
So, why is this reservoir a challenge at all? Surely it looks like a walk in the park? Well, let's take a closer look in at some of the details and find out why I thought it worthy of being a challenge piece:
- Double-sided machining - Each half of this reservoir is machined from both sides of the acrylic. On the inside, you naturally have the centre cavity, O-ring groove, and screw threads. On the outside, there is a 3D-contoured outer edge as well as counterbored (not countersunk) holes holes and a recessed G1/4 port.
- All surfaces are 3D-machined - Next up, you'll notice that not only are the outer edges filleted, but so are all the internal edges! No easy finishing with a straight end mill here, I'm afraid; you're going to need to 3D contour around.
- None of the sides are parallel or coplanar - The arms of this star are all angled and curved, so using them for reference will be particularly challenging.
- It's small - This is both a positive and negative. Small means less material but also makes workholding on a flat bed harder since you'll need to figure out how to clamp the workpiece.
- The counterbores intersect the outer edge fillet - Come now, you didn't think I would make this easy, eh? The counterbores overlap with the exterior fillet, which will be fun for toolpaths!
- NO SANDING - This is a machining challenge, so that means no sanding. I will, however, permit the use of a bit of polish to buff the surfaces. Cutting can sometimes leave mess behind, so it's fair to remove this in my book, and polishing won't leave a good finish unless the initial milling is high quality.
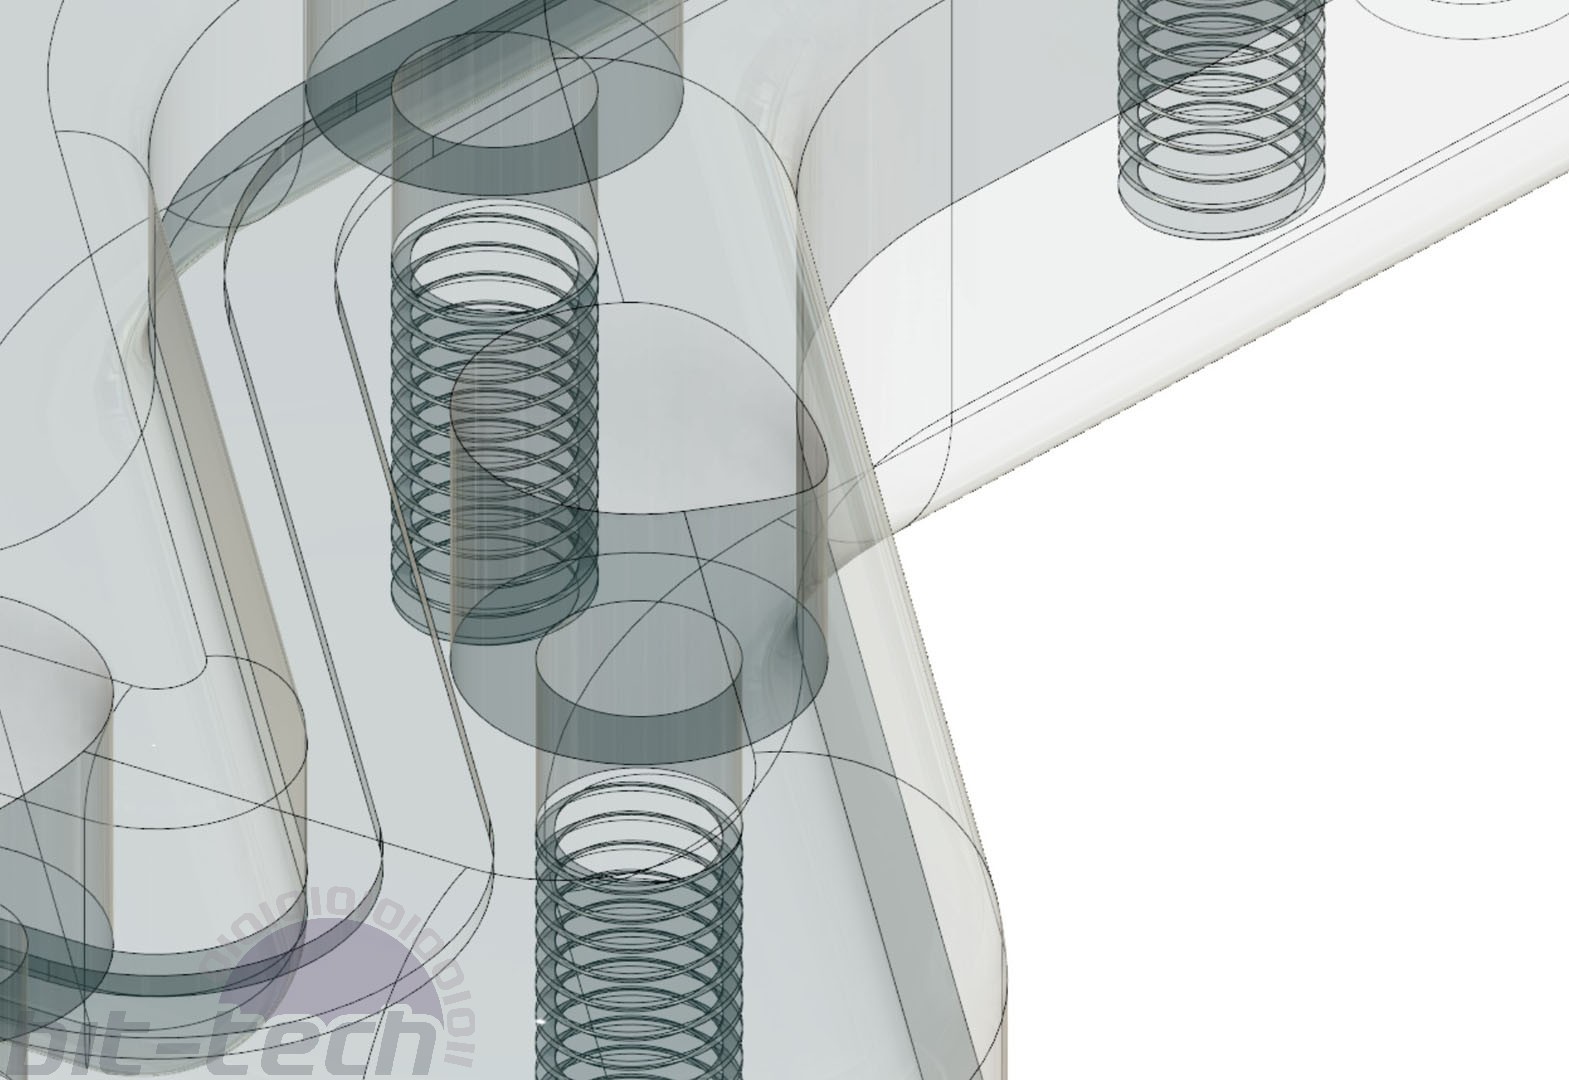
Link to .Step file of the reservoir
Spoilers below! Do not read ahead if you want to have a go entirely without guidance!
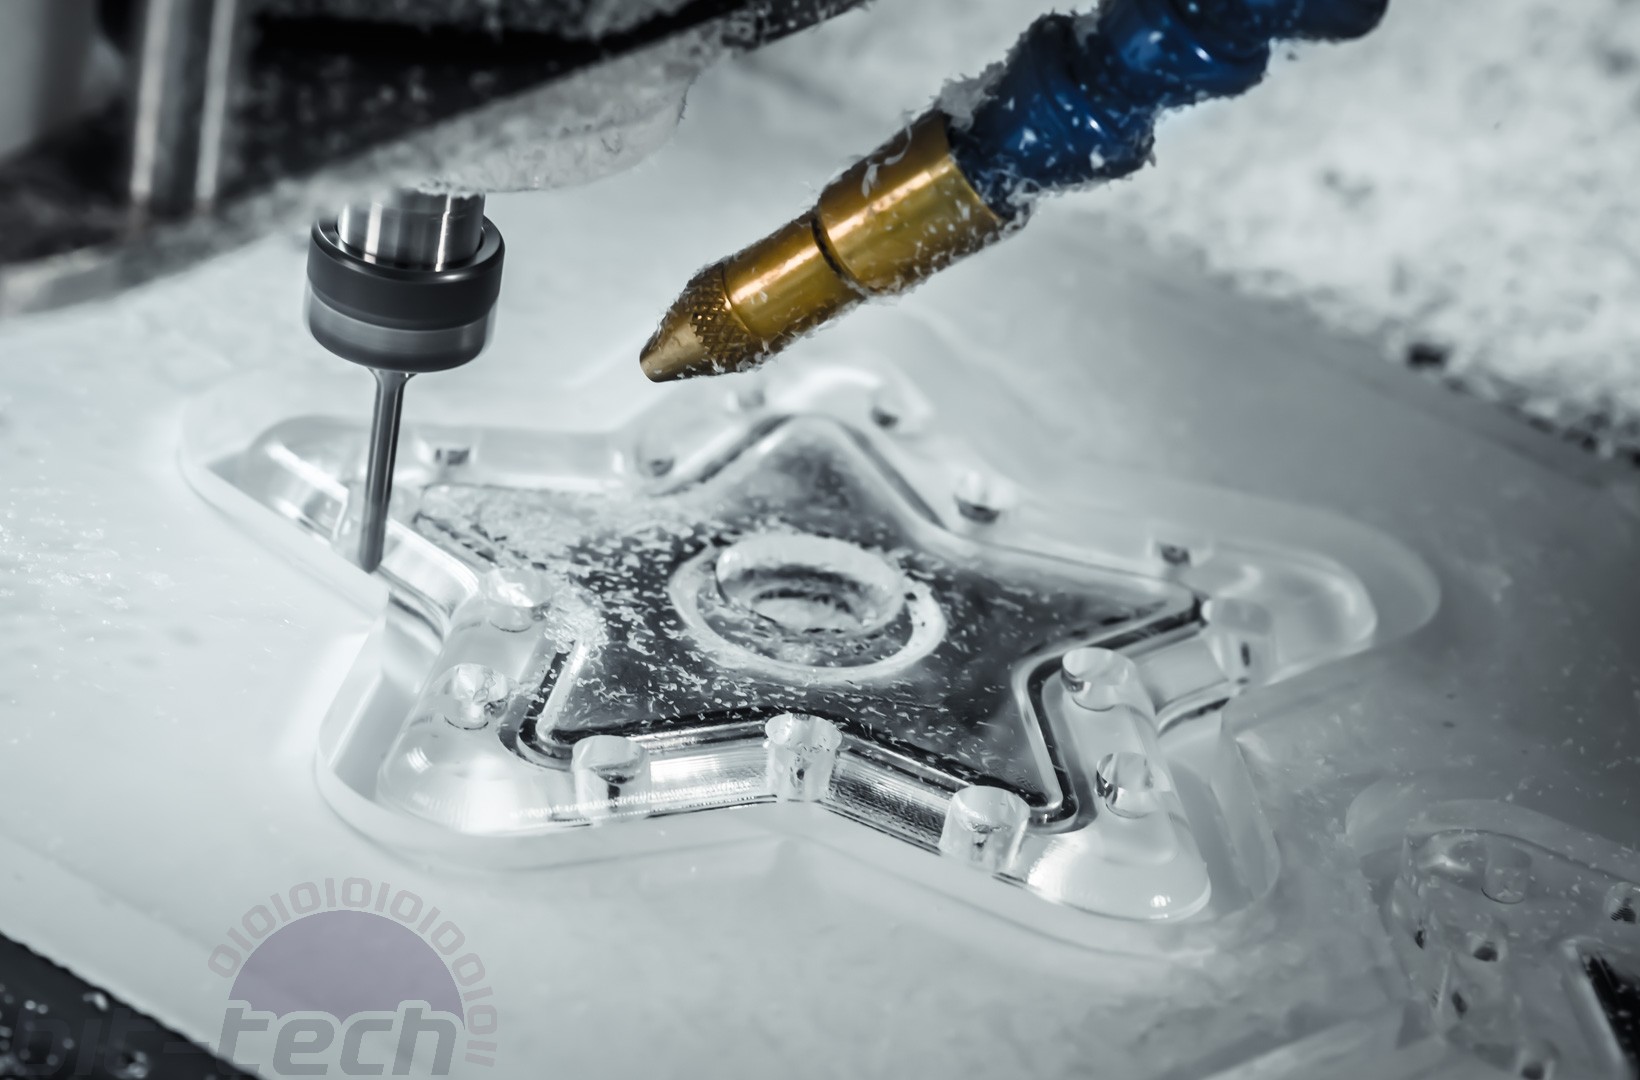
I'm not going to leave you out to dry with this one, so here's a brief run down of how I tackled the task of machining this tricky piece. You can also check out the video above.
Side 1
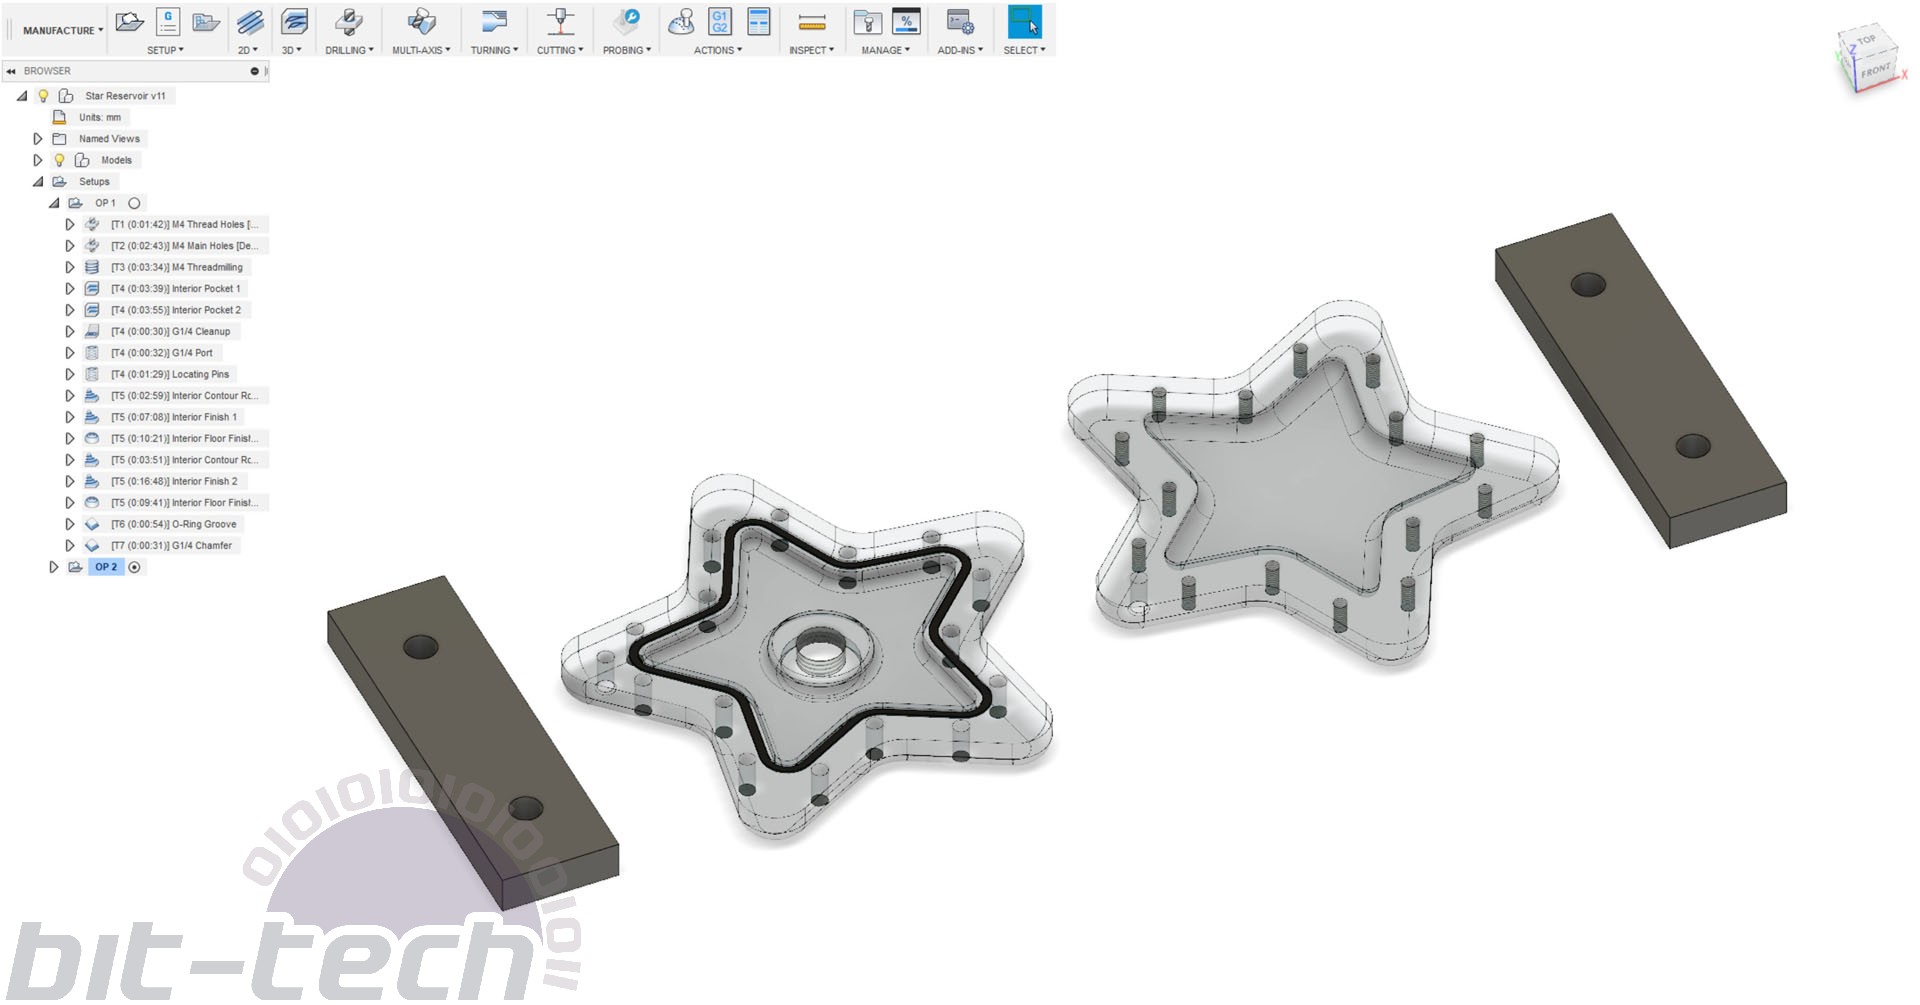
- M4-threaded holes - I'm going to threadmill these, but this time I'm starting with a pilot hole, as they're a bit deeper than usual. My threadmill cutter only has an 8mm flute length, so a pilot hole will help with chip evacuation; it's not necessary for 7-8mm deep threads. I used a 3.1mm Datron carbide drill with 22mm flute length for this, running at 15K RPM and using a deep drilling cycle with a 5mm peck. It's possible to drill full depth in one go but, I've had better results this way.
- M4 through-holes - 4.1mm Datron carbide drill, same settings as above.
- M4 threadmilling - Datron M4-5 Threadmill cutter, 500mm/min @ 15K RPM using conventional milling with a repeat spring pass.
- 3D pocket roughing - Datron 6mm single flute with polished edge 13mm flutes, 1200mm/min @ 22K RPM and 0.5mm depth of cut. The low depth of cut was purely to give a more even step down for the later contour machining.
- Locating pins - Datron 6mm single flute with polished edge, 600mm/min @ 22K RPM using the bore function with a spring pass.
- 3D contour roughing and finishing - Datron 3mm ball end mill with polished edge, 1000mm/min @ 22K RPM. For roughing I used a 0.5mm stepover with 0.1mm axial and radial stock to leave, finishing used a 0.2mm step over with no stock to leave.
- 3D scallop interior finishing - same tool and settings as above
- O-ring groove - Datron 2mm single flute with polished edge 7mm flutes, 1000mm/min @ 20K RPM. Two passes, one at 0.5mm depth followed by a pass at full depth that was calculated on the machine.
- Edge chamfer - Datron 8mm countersink with polished edge, 1000mm/min @ 20K RPM.
Side 2
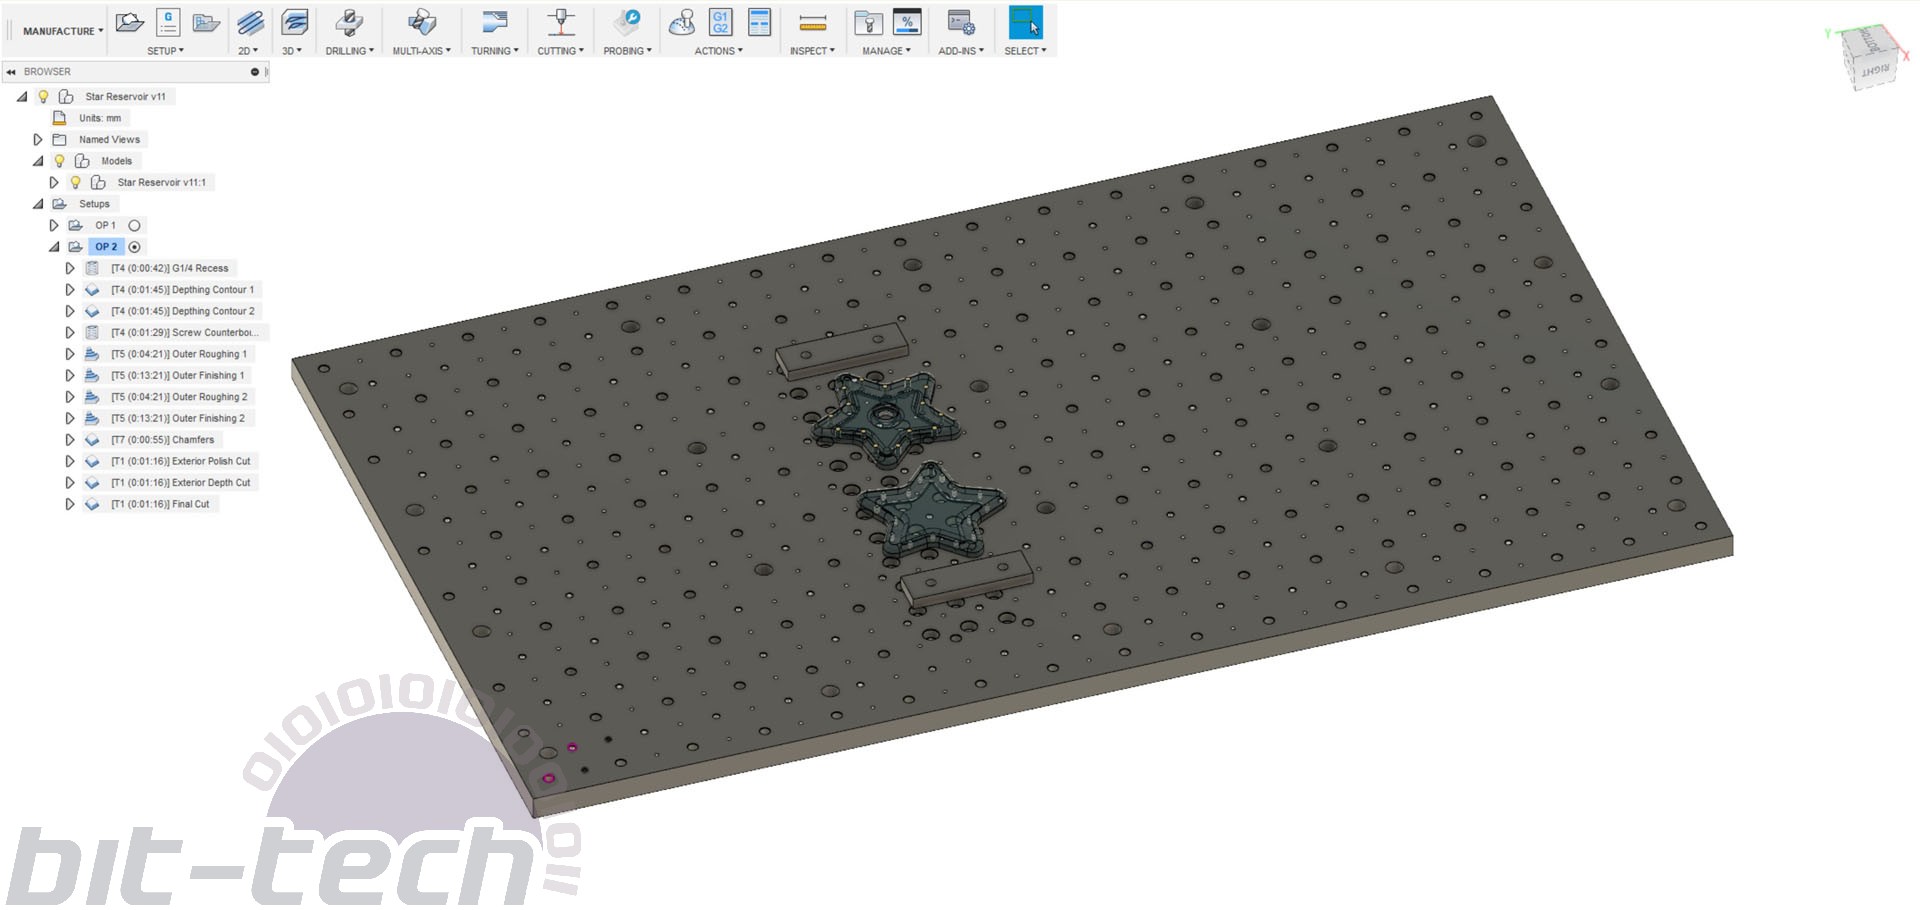
I flipped the part and aligned the locating pins with the holes on the fixture plate. I then finished with the following operations:
- G1/4 recess and outer contour - Datron 6mm single flute with polished edge 13mm flutes, 1500mm/min @ 22K RPM and 2.5mm depth of cut. I left 1mm axial stock to leave and 0.2mm radial.
- Counterbores - Datron 6mm single flute with polished edge 13mm flutes, 600mm/min @ 22K RPM. I used the patch environment first to cover over the counterbores on the model, then machined down using the bore command on the M4 holes. Negative stock to leave was used to make the counterbores the correct size.
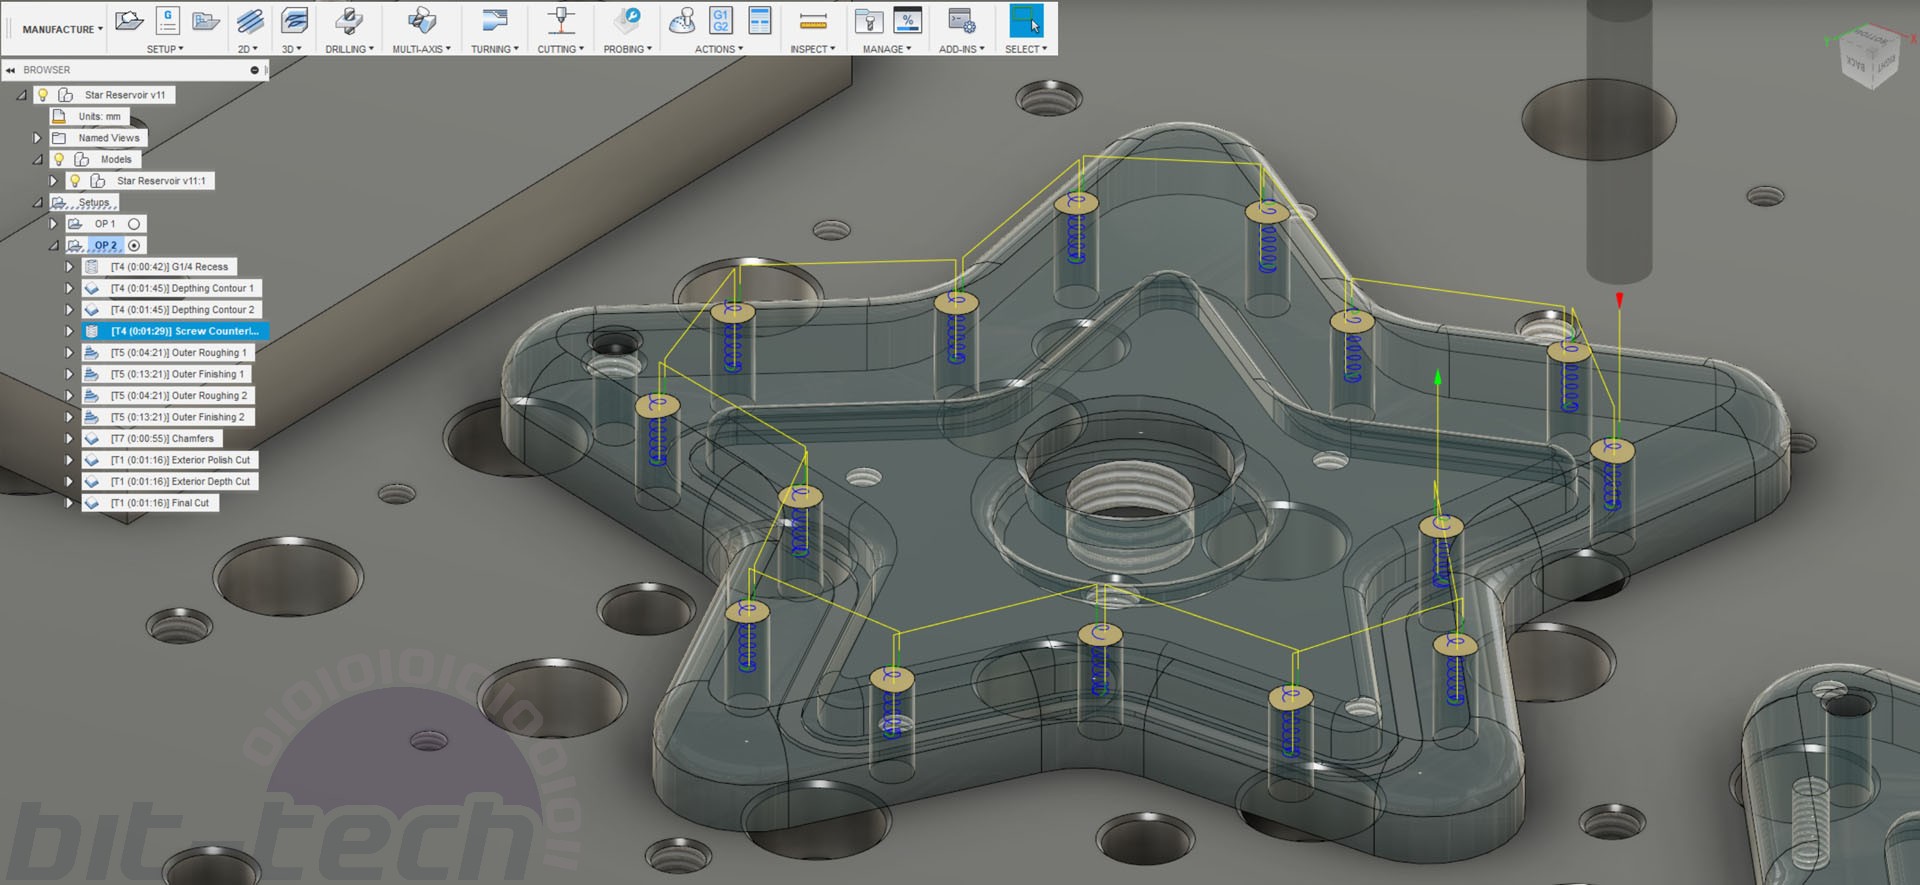
- Outside 3D contour - Datron 3mm ball end mill with polished edge, 1000mm/min @ 22K RPM, same as on the interior, 0.5mm step over for roughing and 0.2mm for finishing.
- Chamfers - Datron 8mm countersink with polished edge, 1000mm/min @ 20K RPM.
- Final exterior contour cuts - Datron 6mm single flute with polished edge 13mm flutes, 1500mm/min @ 22K RPM. I did three passes to reduce lateral cutting forces. Pass one had 1mm axial stock to leave and 0.2mm radial, pass two had 0.4mm axial and pass three had no stock to leave. This helps prevent the part from chattering during the last few millimetres of cutting, leaving a better finish.

MSI MPG Velox 100R Chassis Review
October 14 2021 | 15:04





Want to comment? Please log in.